Table of Contents
Publishing your models on BeeGraphy’s marketplace can open up exciting opportunities for creators, whether you’re a seasoned professional or a newcomer. This guide provides step-by-step instructions to ensure a smooth publishing process, with tips to optimize your model’s visibility and adherence to BeeGraphy’s guidelines.
BeeGraphy is a cloud-based platform that focuses on parametric design, which allows users to create models that are driven by parameters. This means users can adjust the parameters of a model to automatically update its shape and features, making it ideal for iterative design processes and customization. BeeGraphy’s marketplace is an online platform where designers, engineers, and creators can publish, share, and sell their parametric models and digital designs.
Why Publish on BeeGraphy?
Beegraphy’s marketplace serves as a bridge between creators and a global audience, offering a diverse range of models suitable for various industries such as architecture, product design, engineering, and even education. The marketplace supports multiple file formats compatible with 3D printing, CNC machining, and laser cutting, enabling users to easily purchase and download models for manufacturing or visualization purposes. Additionally, it provides opportunities for creators to monetize their work, gain exposure, and engage with a community of like-minded individuals interested in innovative digital design.
Prerequisites
Before one begins publishing their model on BeeGraphy, one needs to ensure they have the following prerequisites in place:
- Create a BeeGraphy Account: You must have a registered account on BeeGraphy to publish your models.
- Model Preparation: Ensure your model meets BeeGraphy’s standards, including:
- Acceptable file formats: DXF for laser cutting, STL for 3D printing, OBJ for CNC, and STEP or IGES for visualization.
- High-quality design with clean geometry and proper scaling.
Step-by-Step Guide to Publishing a Model
1. Logging into BeeGraphy
To start publishing your model, log into your BeeGraphy account.
- Visit BeeGraphy’s Website: Go to BeeGraphy’s homepage and click on the “Login” button. If you don’t have an account you can Sign Up to create your account,
- Enter Credentials: Input your username and password to access your account.
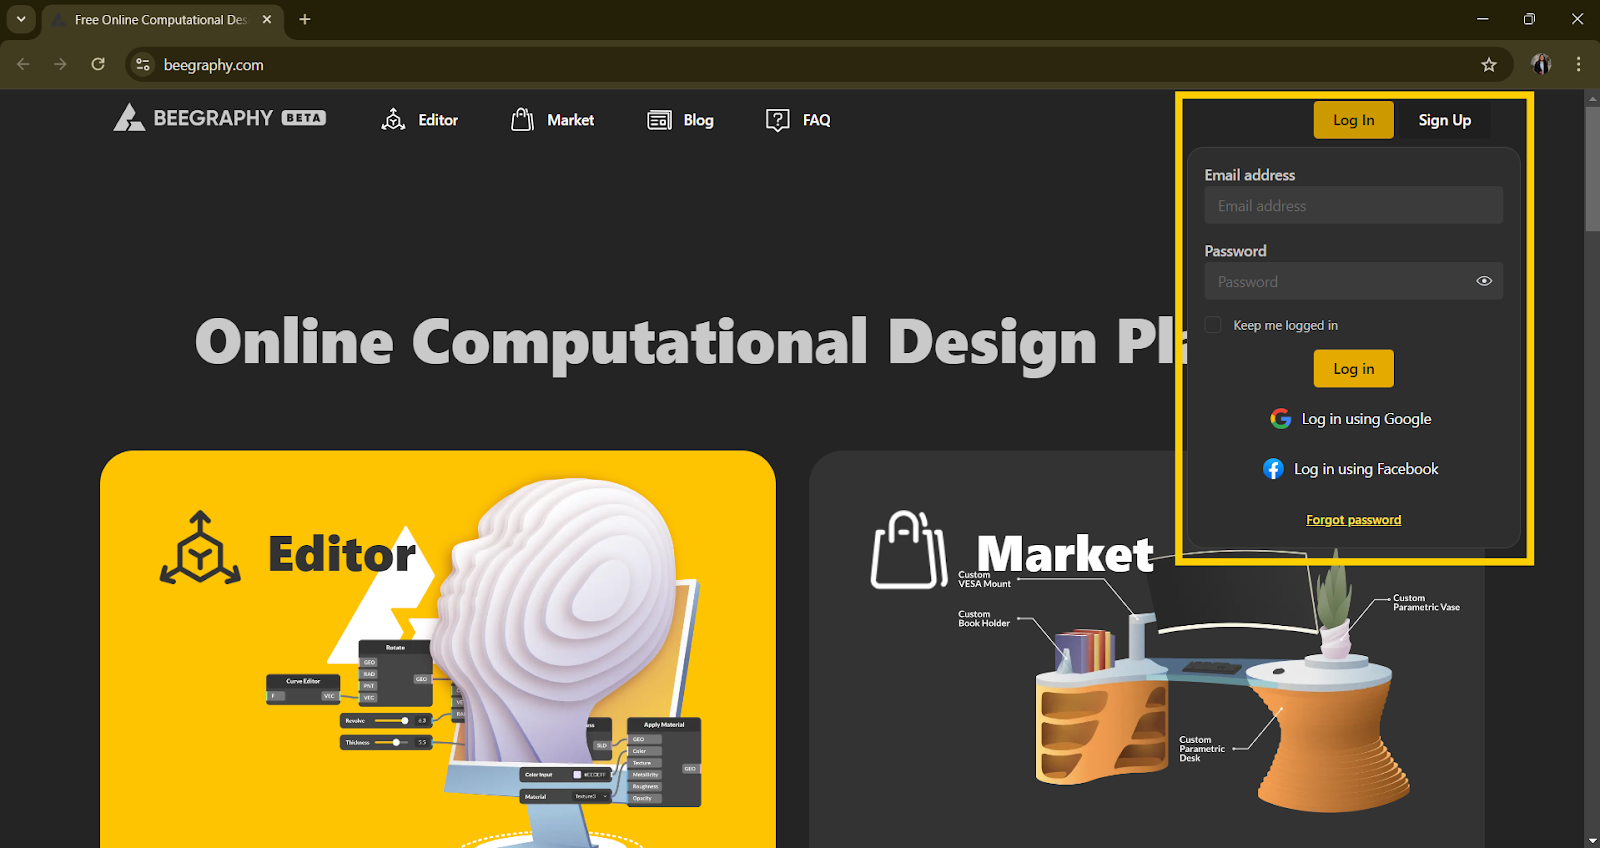
Logging in to Beegraphy
2. Preparing Your Model
Preparation is key to ensuring your model stands out. Follow these steps to get your model ready for publishing:
- Optimize File Size: Ensure your algorithm for the model are optimized for performance.
- Check Geometry: Double-check for any errors in the geometry or topology of the model.

Beegraphy Editor
Tips for Optimization:
- Simplify your algorithm to reduce model’s complexity
- Use appropriate textures and materials to enhance visual appeal.
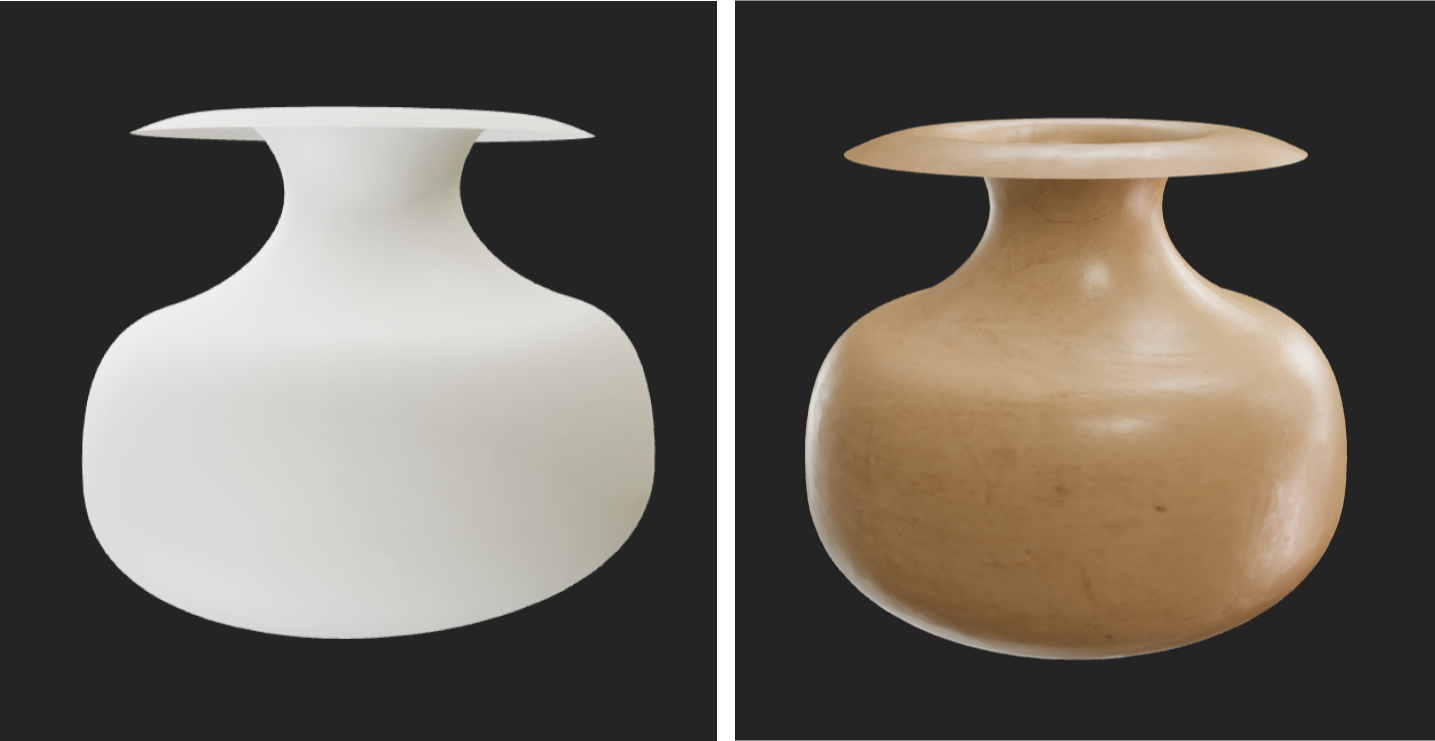
Texturing a model
3. Uploading the Model
Follow these instructions to upload your model file:
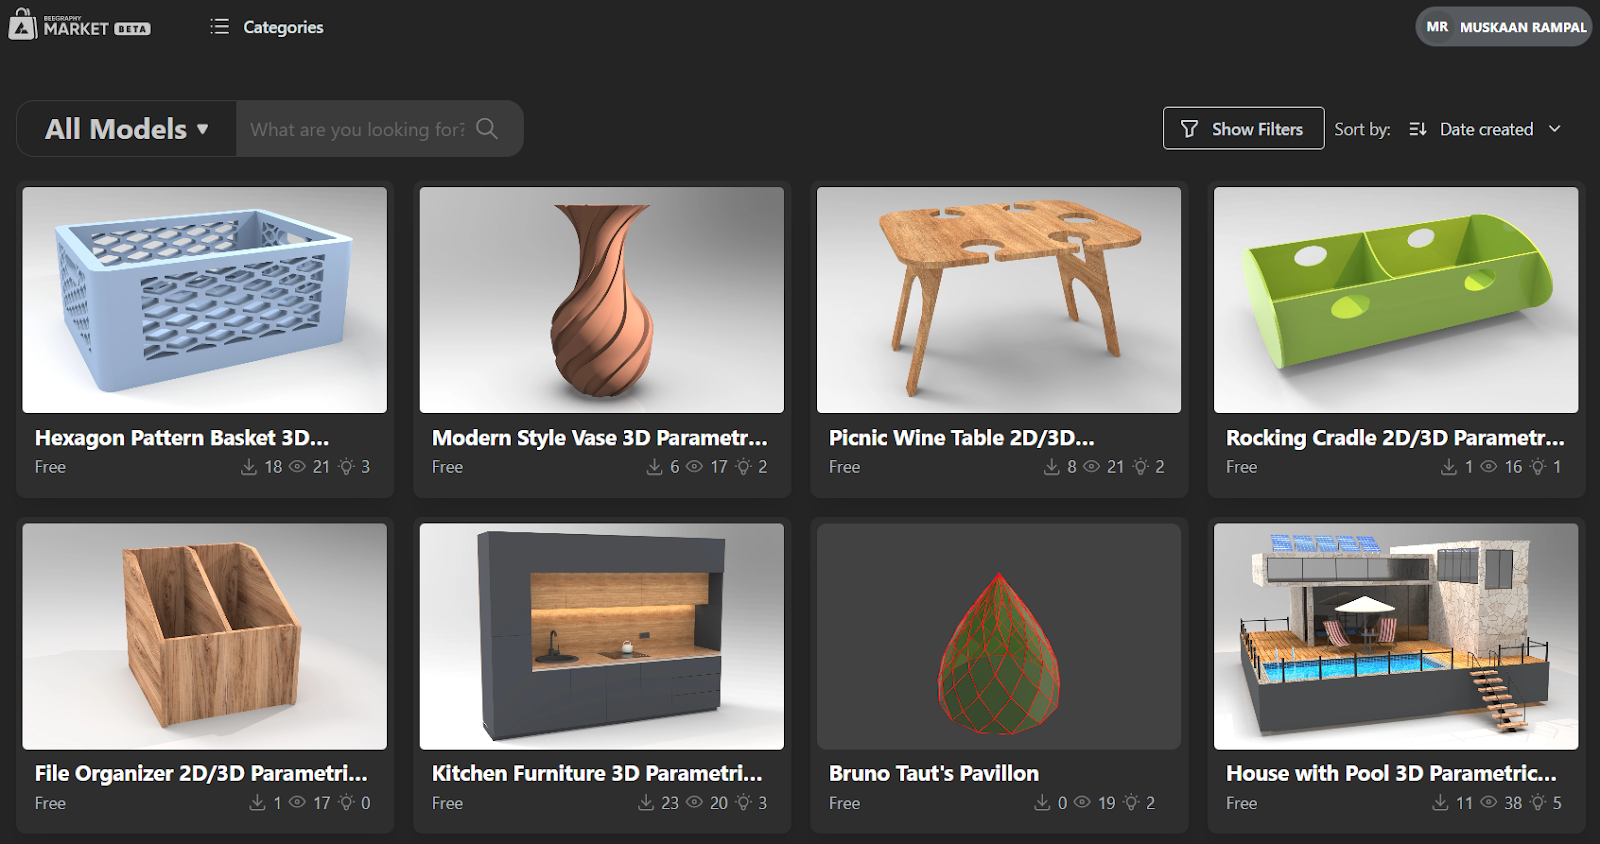
- Select File: Go back to Beegraphy’s Homepage and Click on the three dots present on the thumbnail
- Upload Interface: In the dropdown menu, find and click on the “Publish” button.
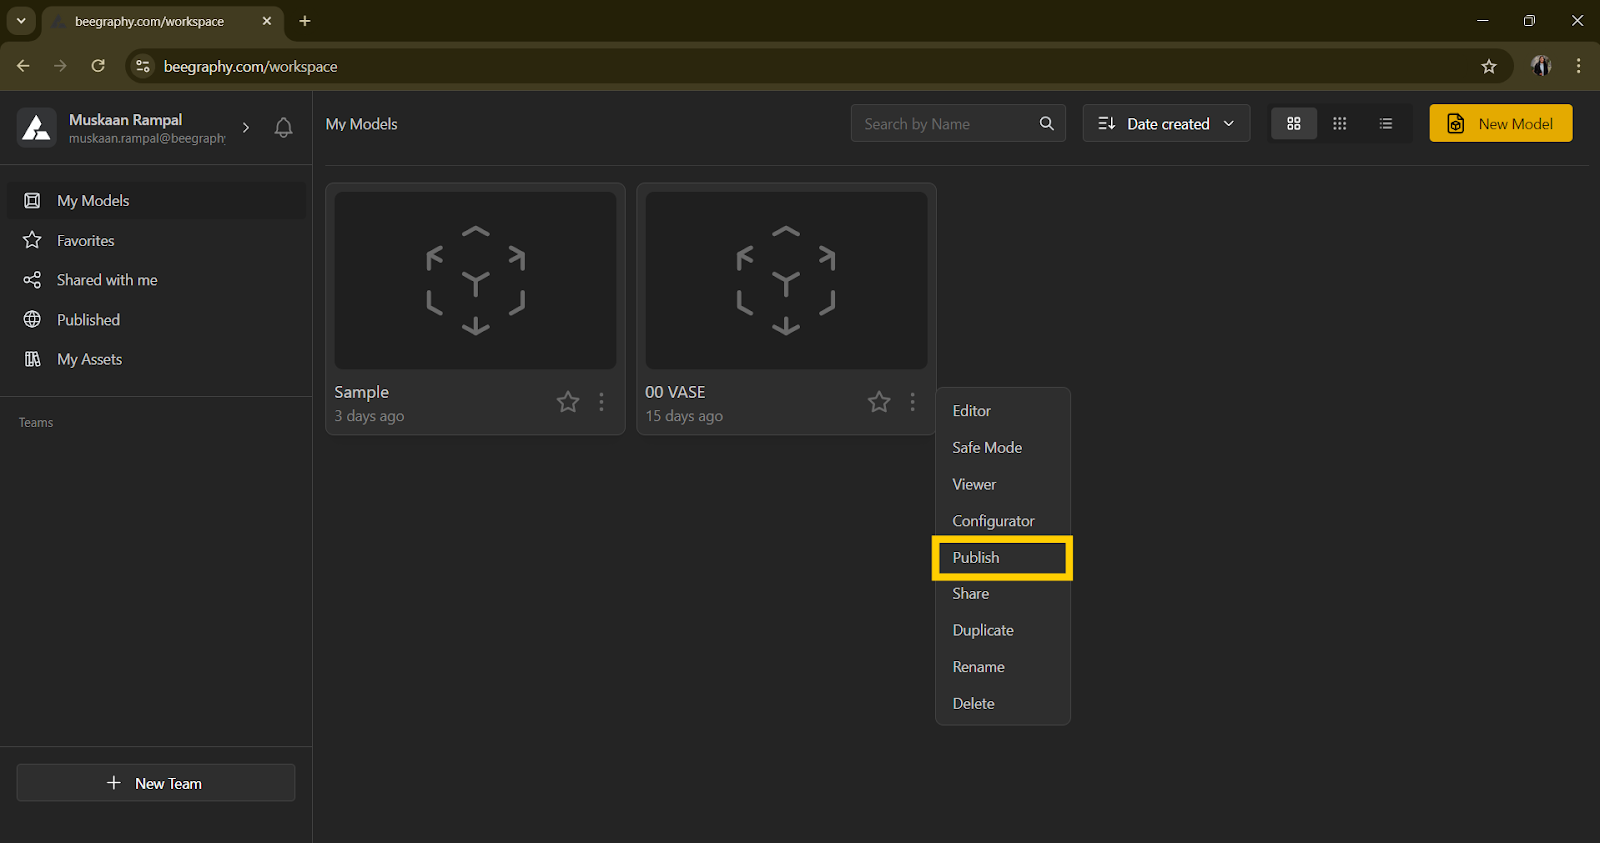
Publishing a model on Beegraphy
4. Adding Model Details
Provide comprehensive details about your model to enhance its discoverability:
- Title and Description: Write a clear and engaging title and description. Use keywords that potential buyers might search for.
- Tags and Categories: Choose relevant tags and categories to make your model easier to find.
Tips for Writing Descriptions:
- Highlight unique features and potential uses.
- Use keywords strategically for better SEO.
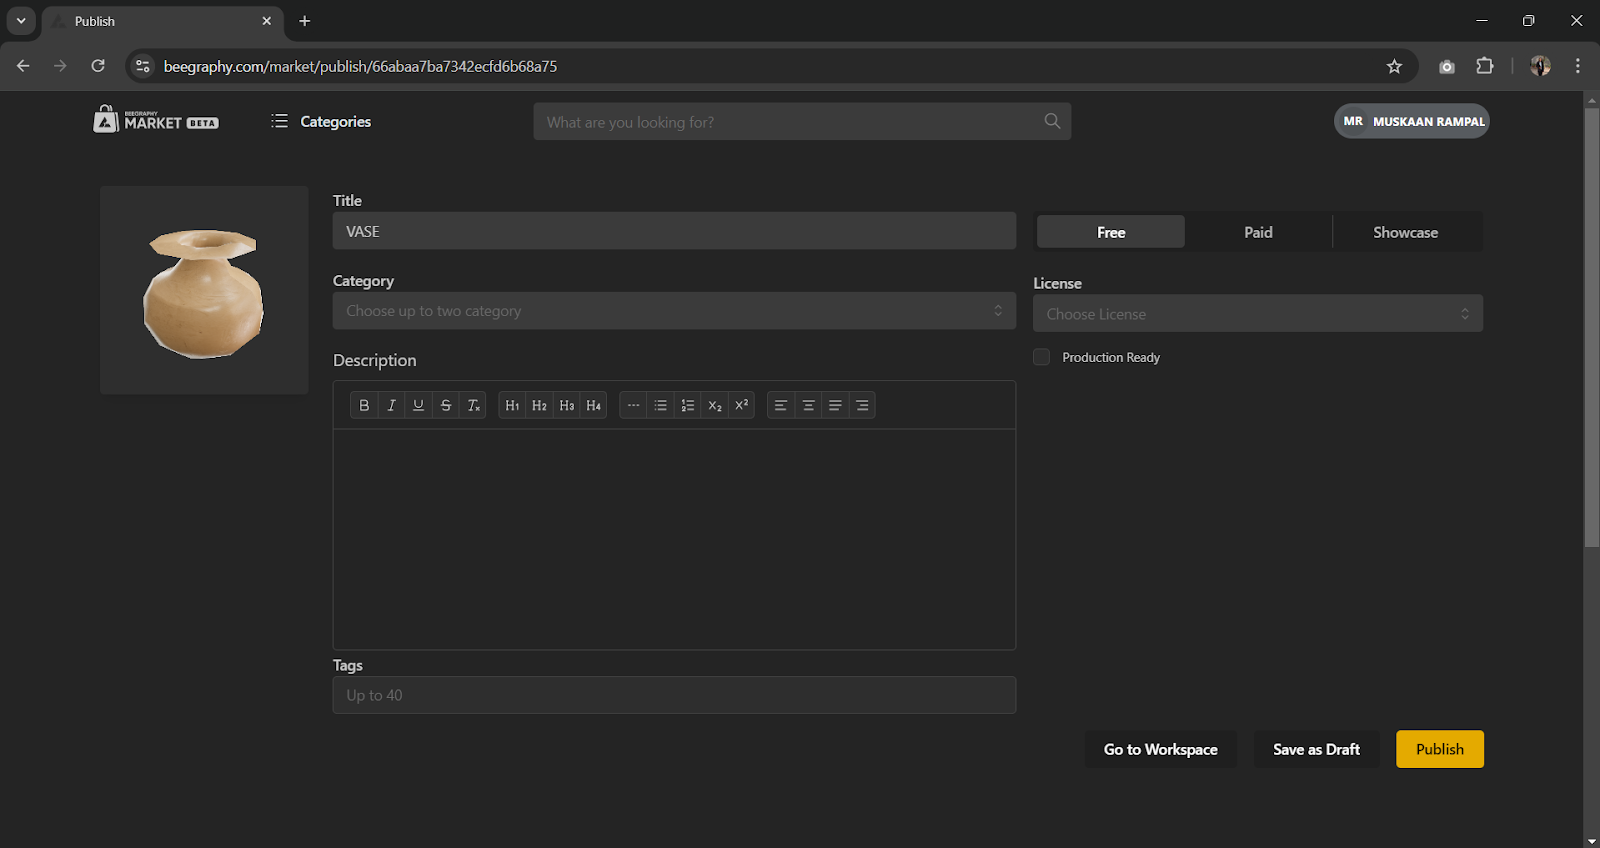
Adding details to your model
BeeGraphy Publishing Guidelines
Adhering to BeeGraphy’s guidelines ensures a smooth approval process and enhances user experience:
Proper Naming of Inputs
The first step in making your model user-friendly is to use descriptive names for input fields. Clear and intuitive labels ensure users understand the purpose of each field, which enhances usability and reduces confusion. Instead of generic names like “Input1” or “Value2,” use specific names that convey the purpose, such as “Width of Base” or “Height of Stand” in the configurator mode.
Naming input parameters for Configurator Mode
Hide Irrelevant Inputs
Streamline the user experience by hiding any unnecessary input fields and arranging the fields in a systematic order. Irrelevant inputs can clutter the interface and confuse users, leading to frustration and potential errors. Only display fields that are essential to customizing or understanding your model, ensuring a clean and efficient user interface.
Configurator Mode
Define Min-Max Values
Setting appropriate minimum and maximum values for inputs is crucial for preventing errors and enhancing usability. Define constraints that align with the design’s physical limitations or intended use cases. For instance, if a component needs to be within specific size limits for manufacturing, make sure these are reflected in the input settings. This not only prevents errors but also guides users to make feasible modifications.
Define Min-Max Values in the Editor
Save Camera Position
The first impression of your model matters, and saving the initial camera position ensures it is presented in the best possible view. By defining and saving a strategic camera angle, you highlight the most important aspects of your design, helping users to immediately appreciate its features and functionality.
Setting up Camera position for the preview.
Accurate Description
An accurate and detailed description of your model is vital for both user understanding and search engine optimization (SEO). A comprehensive description should highlight the key features, intended use cases, and any unique attributes of your design. Remember, longer and well-crafted descriptions improve SEO, making your model easier to discover by users searching for related products.
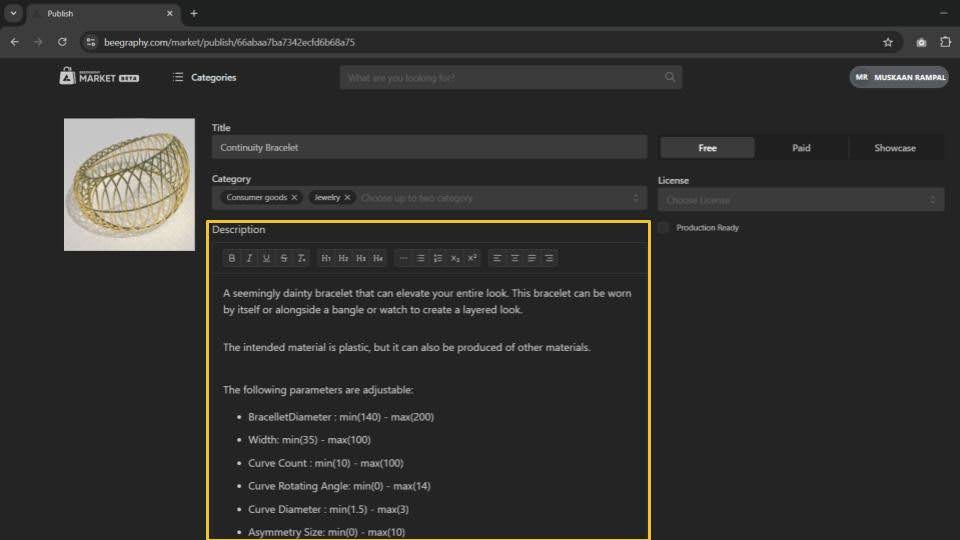
Adding Description for your model
Select the Correct Product Category
Choosing the correct product category is essential for reaching the right audience. Whether your design falls under “arts and collectibles,” “furniture,” or “engineering,” selecting the right category ensures your model appears in relevant searches, connecting you with users who are most likely to be interested in your work.
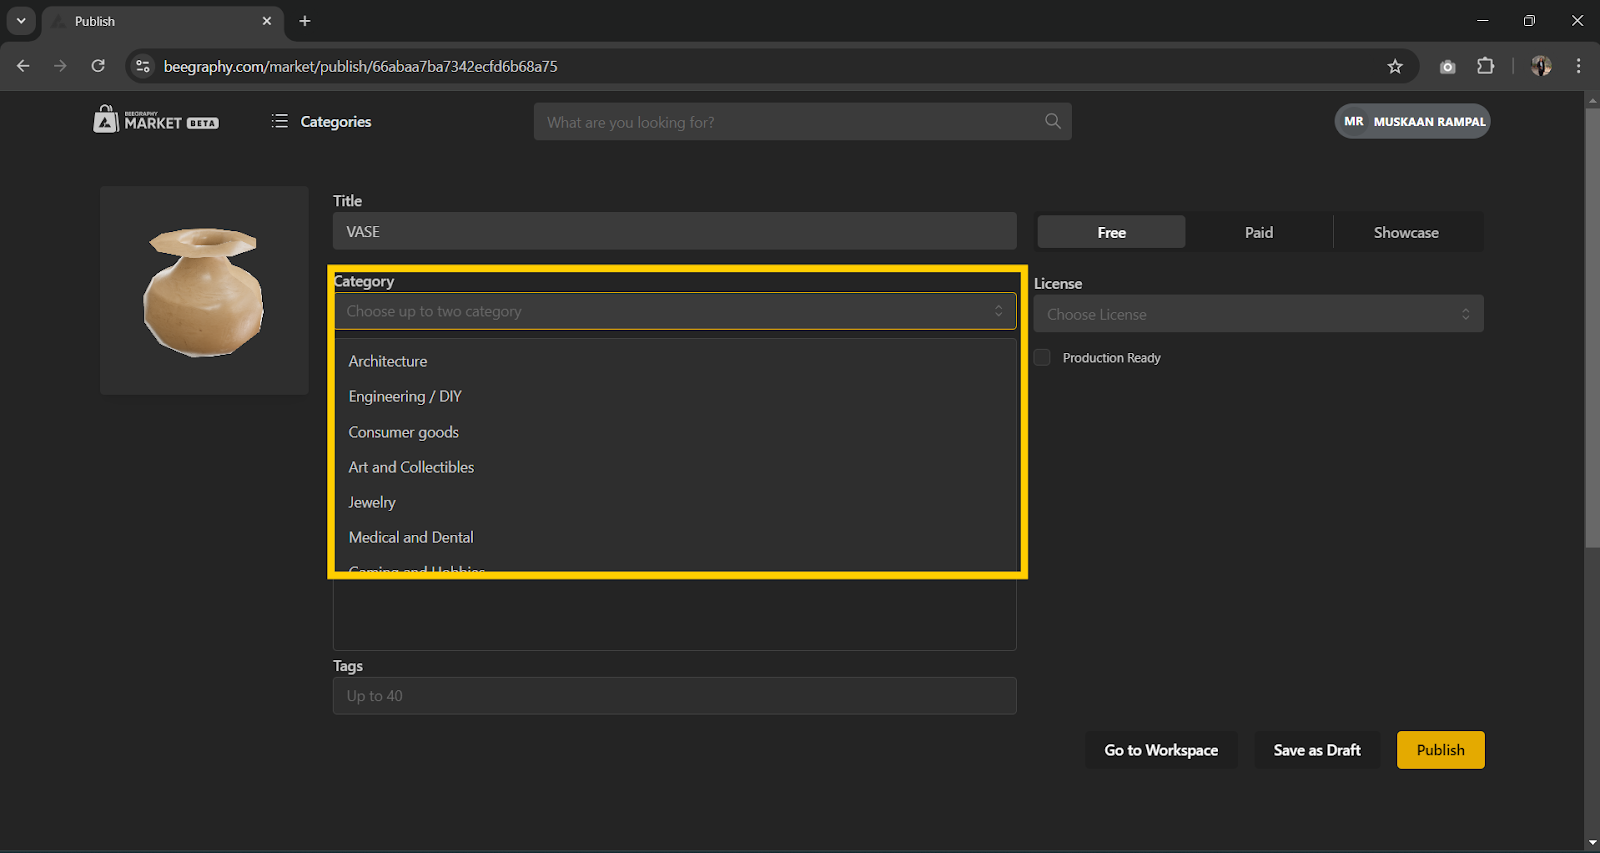
Assigning the Product category
Manufacturable Models
If your model is intended for manufacturing, Click on Production ready. You can specify the materials that can be used and also the manufacturing equipment for production. This guidance is invaluable for users who are considering creating a physical version of your model. By listing compatible materials, you help users make informed decisions, ensuring their projects are successful and aligned with the model’s design parameters.
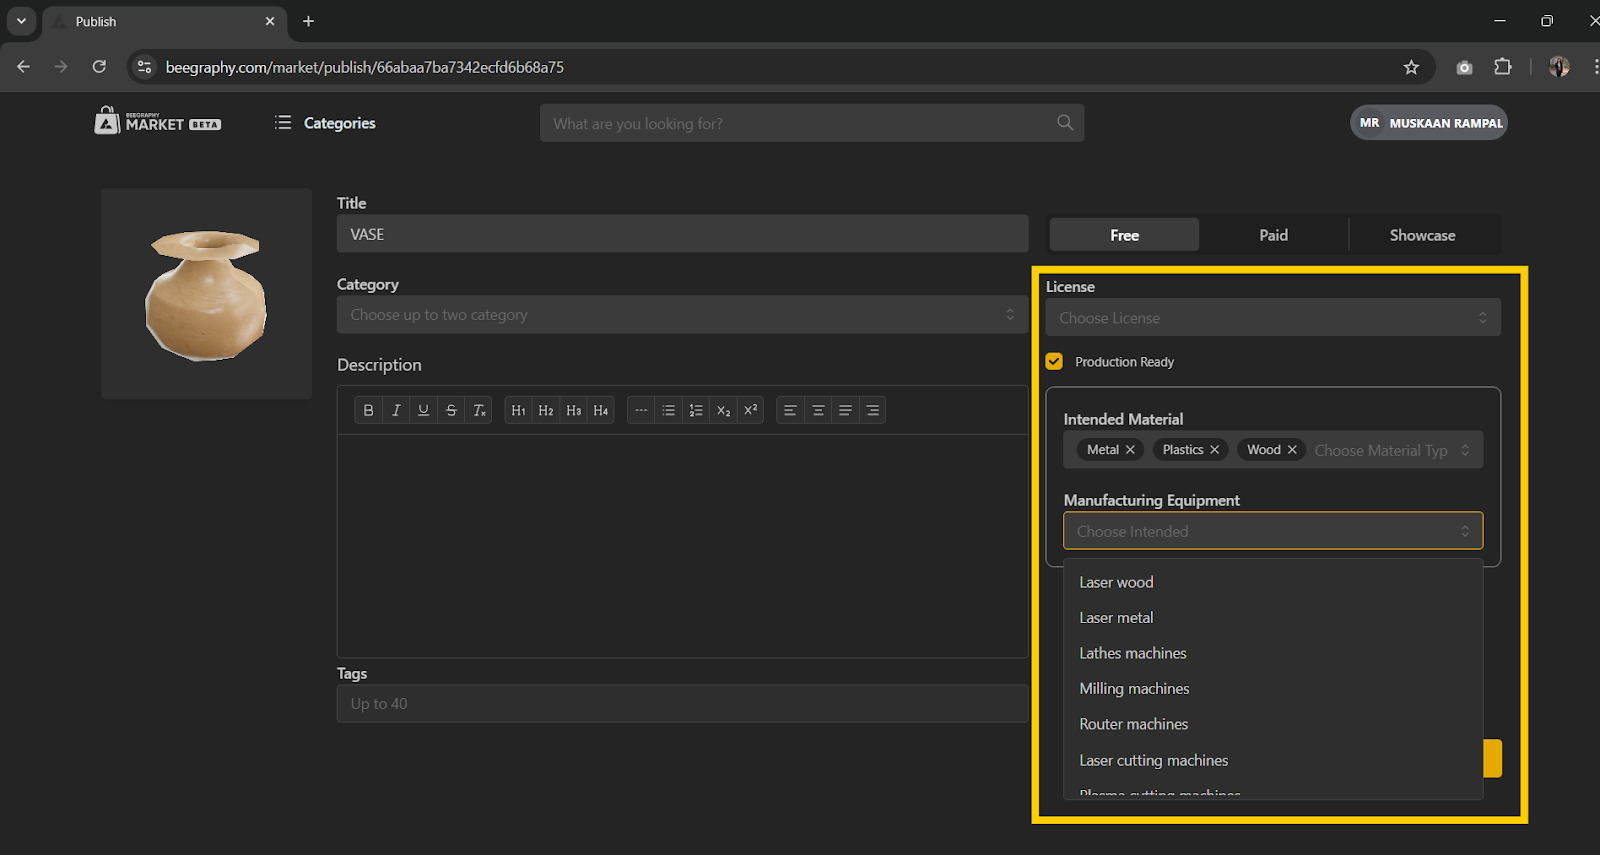
Creating Production Ready Model
Export Files
To cater to diverse user needs, ensure your model is available in at least one of the following formats, depending on the intended application:
- Laser Cutting: DXF
- 3D Printing: STL
- CNC: OBJ
- Visualization: STEP or IGES
These formats are industry standards and ensure compatibility with a wide range of manufacturing and visualization tools.
Add Relevant Tags
Choosing the correct product category is essential for reaching the right audience. Whether your design falls under “consumer goods,” “furniture,” or “home decorations,” selecting the right category ensures your model appears in relevant searches, connecting you with users who are most likely to be interested in your work.
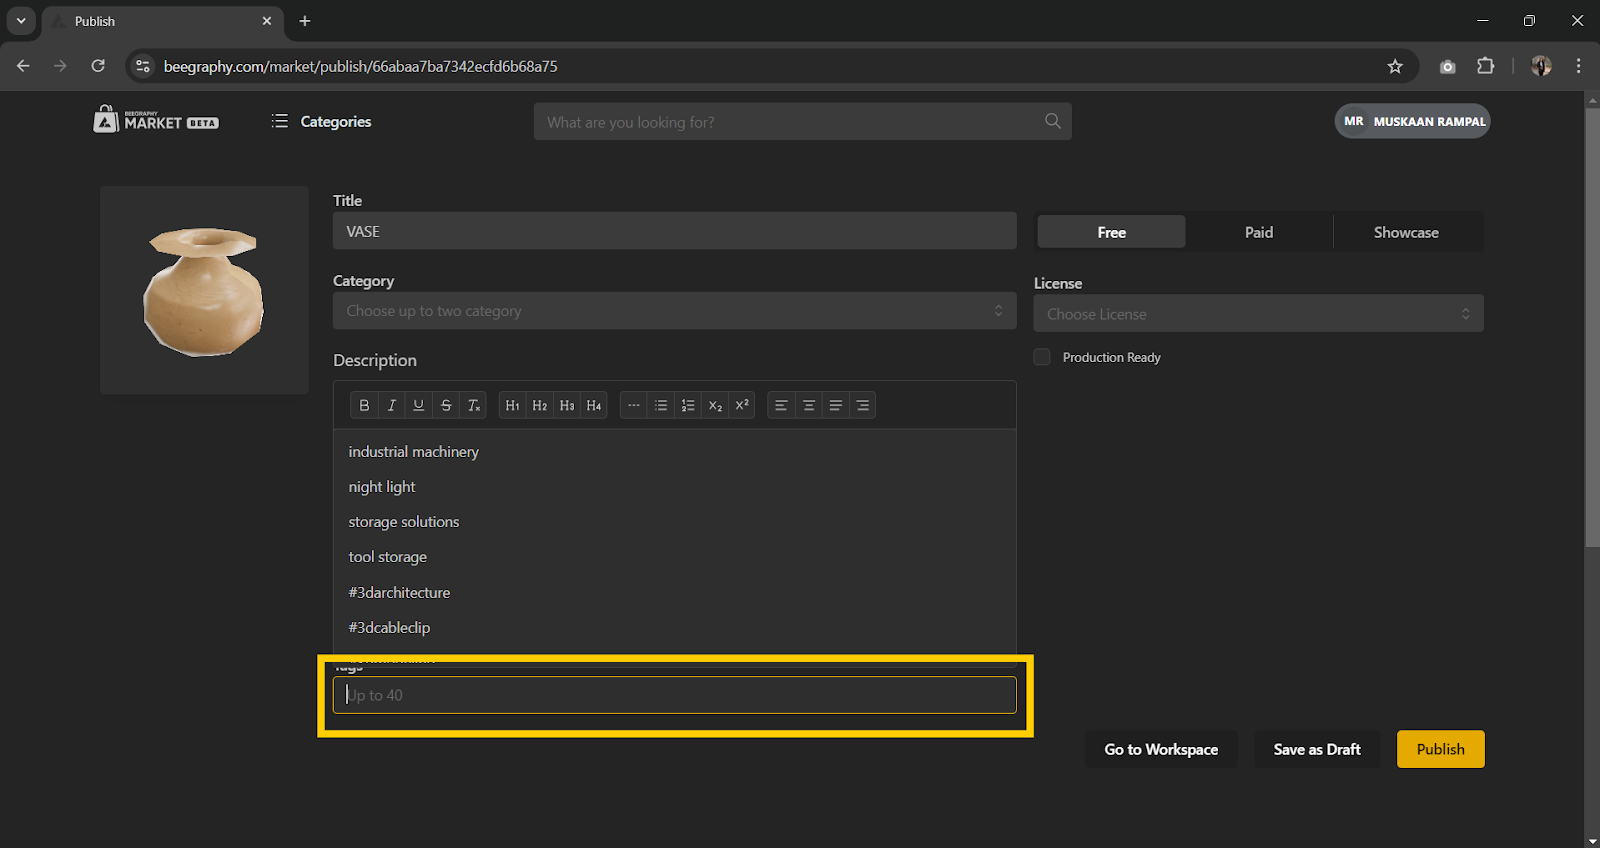
Adding relevant tags to your model
When you’re ready to share your model with the world, it’s important to understand the different options available for publishing it to the marketplace. Whether you want to offer your model for free, sell it, or simply showcase it in your portfolio, this guide will walk you through the steps and choices you need to make.
Publishing Options: Free, Paid, and Showcase
- Free Models
Offering your model for free is a great way to attract attention and build a following. Users can download and use your model without any cost, making it accessible to a broader audience. This option is ideal if you’re looking to share your work widely and contribute to the community. - Paid Models
If you’re looking to monetize your work, you can list your model as a paid asset. This allows you to set a price, and users will need to purchase your model to download and use it. Paid models are perfect for creators who have invested significant time and resources into their work and want to earn revenue from their efforts. - Showcase Models
Showcase models are designed to be part of your private portfolio, allowing you to refine and manage your work before deciding to release it to the public. These models cannot be viewed or downloaded by other users. This feature is ideal for creators who want to develop their models further, prepare them for potential release, or use them as a personal reference. If you later decide to make your showcase models available, you can republish them to the marketplace as free or paid assets.
Publishing Options: Free, Paid, and Showcase
Competition Tags
If your model is part of a competition, make sure to include appropriate tags, such as the BeeGraphy Design Awards tag, the tag with the category number, and also the tag with the category name. For example: #beegraphy_design_awards, #category3, #urban_furniture_and_installations. Make sure to include all three tags. Competition tags not only highlight your participation but also increase the visibility of your model among those following the event. Also it will help the BeeGraphy team and the Jurors to easily identify the models that should be shortlisted for the Stage 2.
Optional: Renders
If you want BeeGraphy to attach a render to your model, email a suitable image to support@beegraphy.com with the following requirements:
- File format: *.webp
- Resolution: 1200 x 630 pixels
Adding model renders to BeeGraphy’s Marketplace
Previewing and Publishing the Model
Before publishing, preview your model to ensure everything is correct:
- Preview: Use the preview function to see how your model will appear.
- Finalize: Once satisfied, click on the “Publish” button.
Post-Publishing Actions
After your model is published, consider these tips to boost its success:
- Promote Your Model: After publishing a model on the Beegraphy marketplace, you can increase engagement by actively promoting your work across social networks like Facebook, Instagram, and LinkedIn. Make sure to tag the official Beegraphy account in your posts to gain visibility within the community. Additionally, share your models and the link to your work in the Beegraphy Discord server, where you can connect with other creators and potential customers.
- Republishing: If you improve your model, republish it to update the marketplace listing, ensuring that your latest work is always showcased. This keeps your offering fresh, attracts more attention, and demonstrates to potential buyers that you are actively refining and enhancing your designs.
Troubleshooting
If you encounter any issues during the publishing process, consider these solutions:
- Check File Formats: Ensure your model is in an accepted format.
- Review Guidelines: Double-check that your model complies with all BeeGraphy guidelines.
For further assistance, contact BeeGraphy support at support@beegraphy.com.
Best Practices
To create high-quality models and engage with the BeeGraphy community effectively, follow these best practices:
- Engage with Feedback: Respond to user feedback and questions to build trust and improve your models.
- Stay Updated: Keep abreast of BeeGraphy updates and community trends to stay relevant.
Publishing your model on BeeGraphy’s marketplace is a rewarding process that can showcase your skills to a global audience. By following this guide, you can ensure a seamless publishing experience and maximize your model’s potential. Happy publishing!