Table of Contents
The world of 3D modeling and parametric design has seen tremendous innovation in recent years, with tools that make customization more accessible to users of all skill levels. Beegraphy, a web-based platform for computational design, is one such standout. Known for its collaborative features and ease of use, Beegraphy offers a unique Configurator Mode and versatile Export Features that empower users to design, customize, and share 3D models effortlessly. This guide will dive deep into these features, offering practical tips and techniques to help you master them for an optimized workflow.
Understanding and Utilizing Range Inputs in Beegraphy
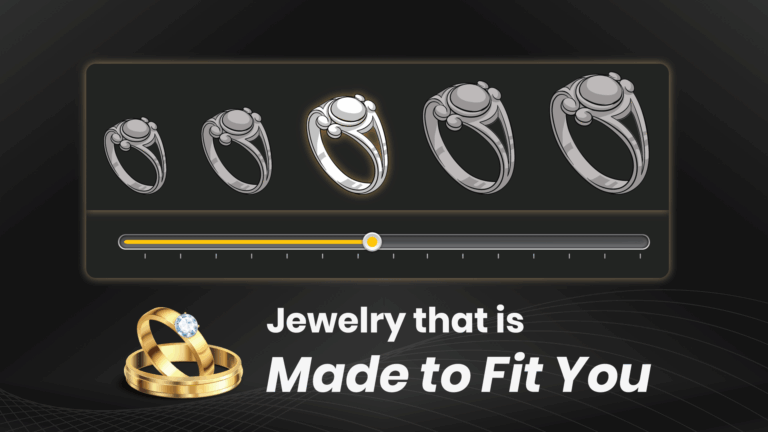
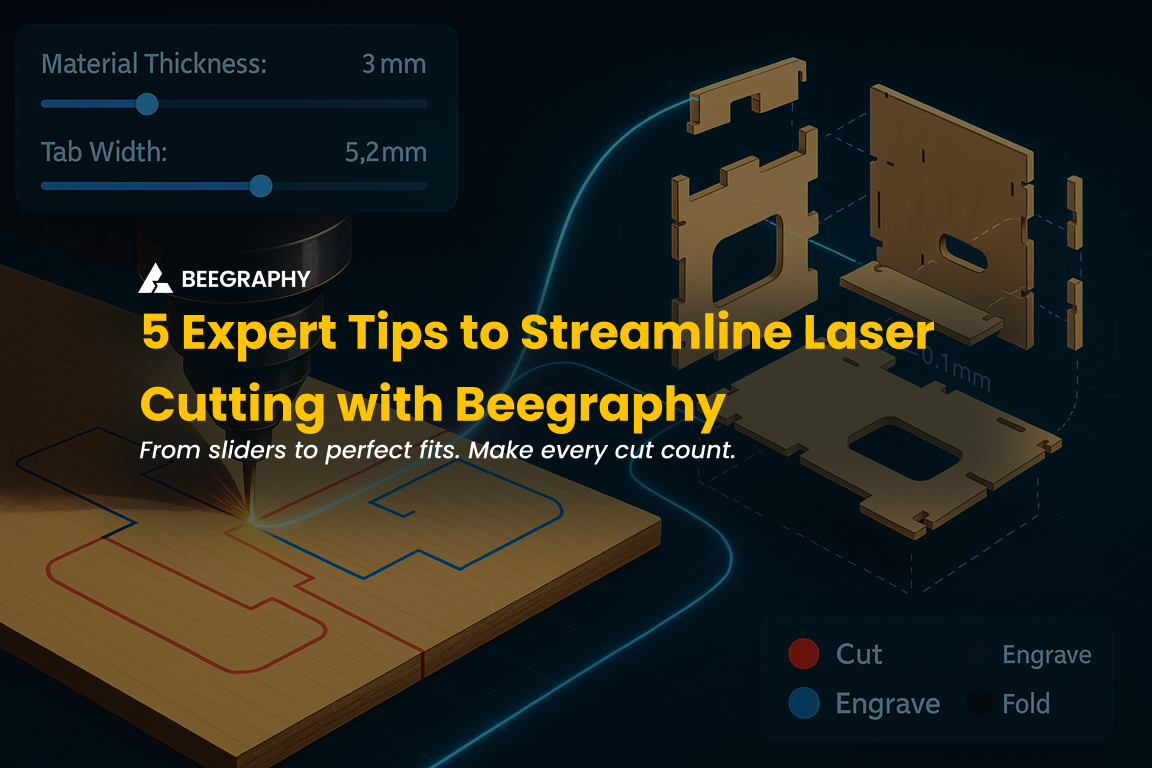
At the heart of Beegraphy’s configurator mode are range inputs—simple yet powerful tools that provide fine control over various model parameters. Range inputs are adjustable sliders that allow users to interact with models dynamically, making them intuitive even for those unfamiliar with coding or scripting.
Creating and Customizing Range Inputs
Range inputs allow you to define boundaries and precision for your model adjustments. Proper setup ensures smooth functionality and prevents errors during customization. Here’s how to get started:
- Setting Minimum and Maximum Values
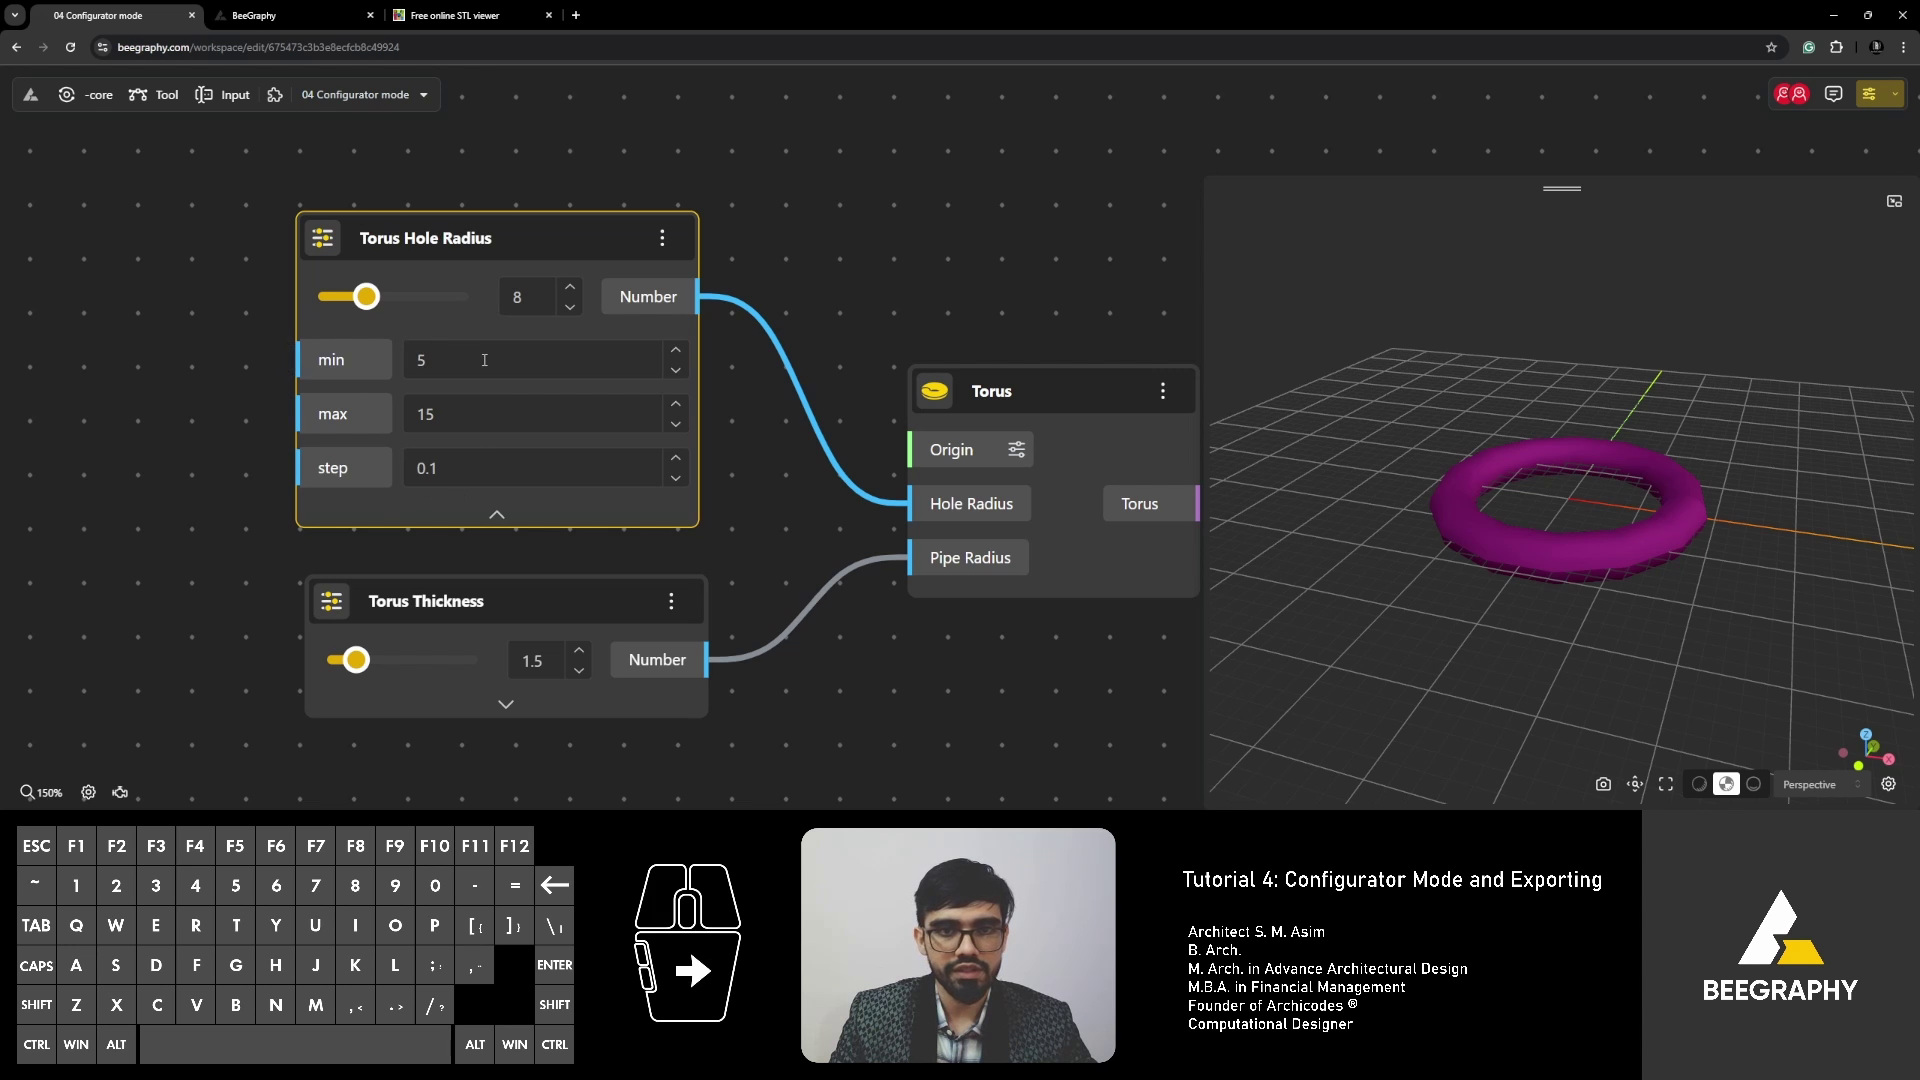
- Define clear boundaries to avoid unexpected results. For example, in a model of a donut, you can set the radius range from 5 to 15 units. This ensures the model remains structurally viable and predictable during adjustments.
- Minimum and maximum values also help guide users, especially if the model has constraints based on physical or aesthetic requirements.
- Adjusting Input Step Values for Precision
- Modify the step values to control how fine or coarse the adjustments are. For instance, if you’re adjusting the thickness of a shape, a step value of 0.1 ensures precision while maintaining ease of use.
- Larger step values can be useful for rough configurations, while smaller values are ideal for more intricate designs.
Utilizing Range Input Shortcuts
Beegraphy simplifies the process of setting up range inputs with handy shortcuts:
- Quick Input for Specific Ranges
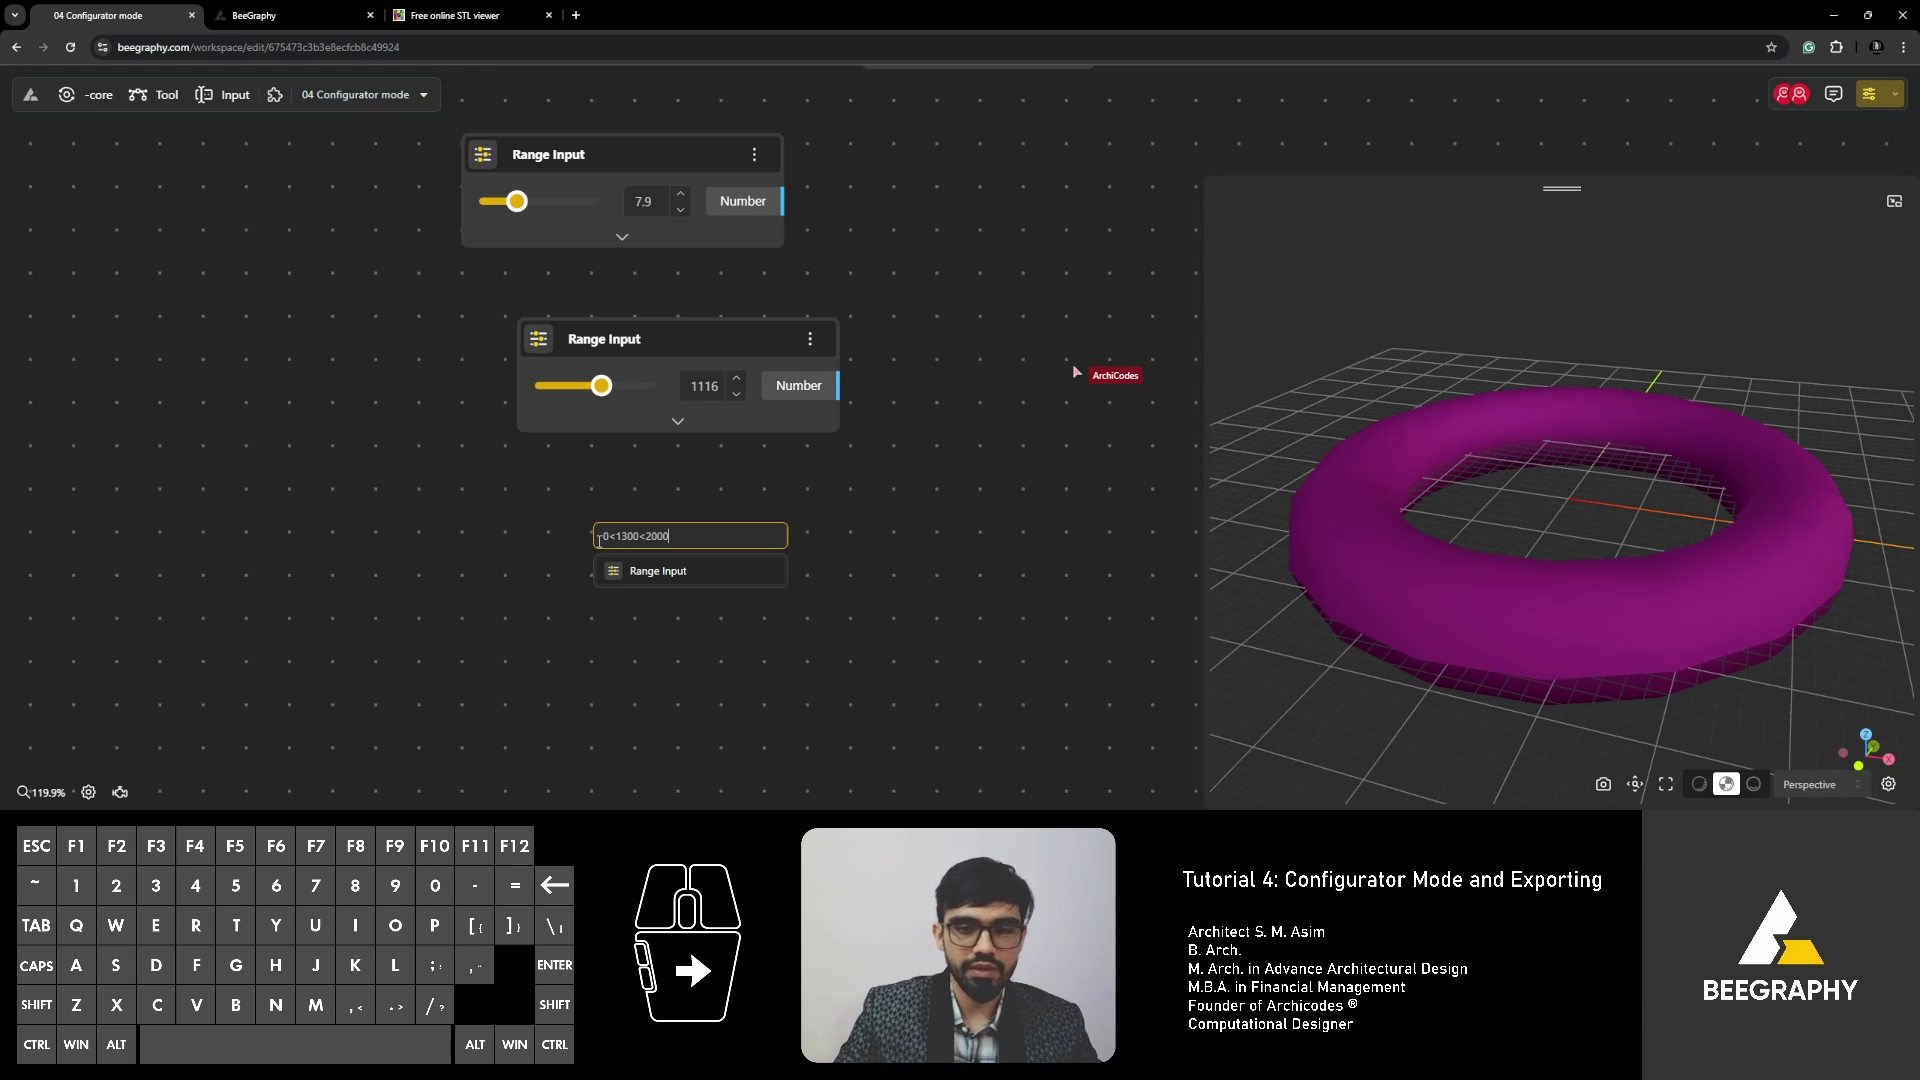
Typing5 < 15into the input field creates a range between 5 and 15 instantly, saving you time during setup. - Decimal Input for Precision
For more specific requirements, you can define ranges with decimal values such as0 < your_number < 0.1. This is particularly useful when working with smaller-scale models or intricate components.
Applying Range Inputs for Model Customization
Once your range inputs are in place, the next step is to make them user-friendly:
- Name Inputs Clearly: Descriptive names like “Height,” “Width,” or “Thickness” make it easier for users to identify and adjust parameters.
- Visual Feedback: As users adjust the sliders, the model updates in real time, offering immediate visual feedback on their changes.
- Group Related Inputs: For models with multiple adjustable parameters, grouping related range inputs under clear headings enhances usability and keeps the interface organized.
Configurator Mode: A User-Friendly Approach to Model Control
Beegraphy’s configurator mode is designed with simplicity and functionality in mind, making it a powerful tool for customizing 3D models without needing any scripting expertise.
Accessing Configurator Mode
To start using the configurator mode:
- Open your project in Beegraphy.
- Click the arrow in the top-right corner of the interface.
- Select “Configurator” to open a new tab dedicated to customization.
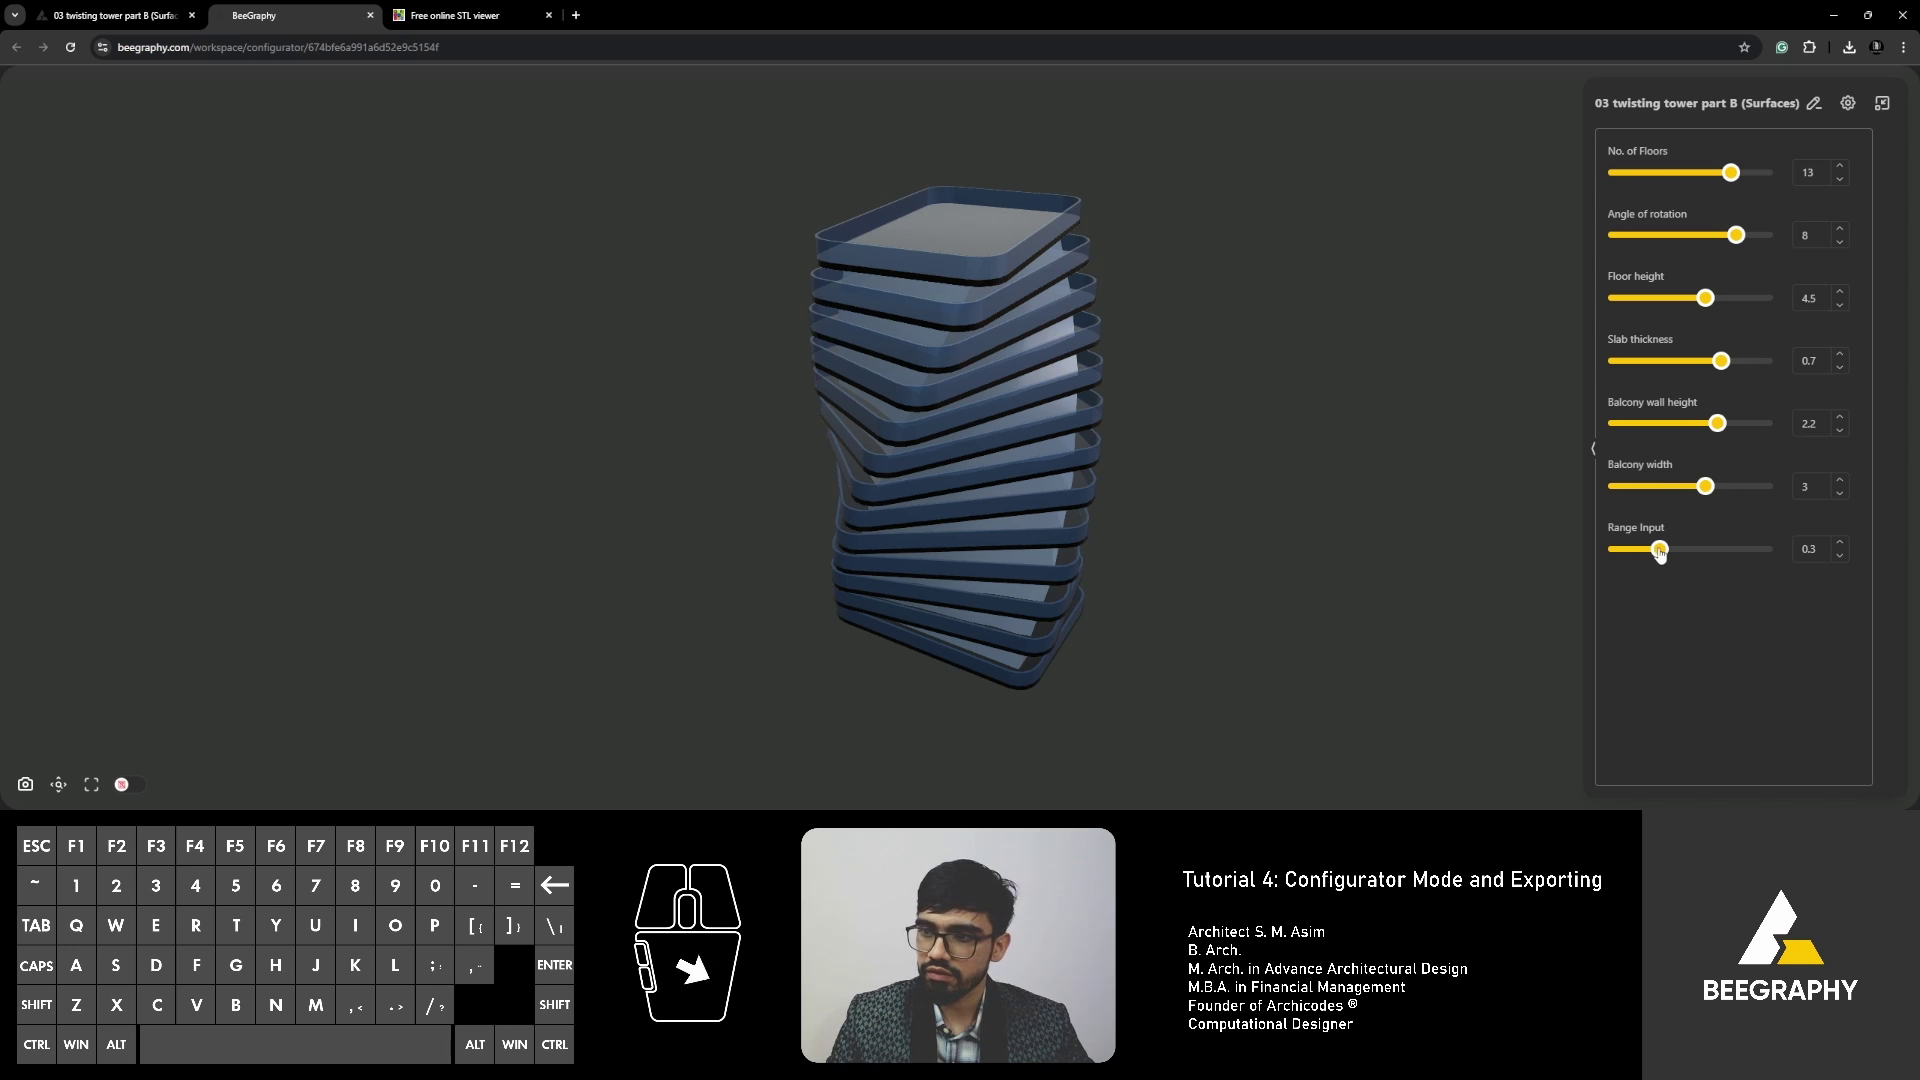
This workspace displays your model alongside all the range inputs and sliders, enabling you to interact with the model dynamically.
Interacting with Sliders and Range Inputs
Sliders in the configurator mode directly correspond to the range inputs you’ve set up. They allow users to adjust values intuitively without needing to interact with the script or underlying code.
- Real-Time Updates: As you move a slider, the model adjusts immediately, reflecting the changes in real time.
- Live Feedback: This live feedback enhances the user experience, making it easier to understand how each parameter affects the overall design.

Hiding and Unhiding Inputs for Focused Customization
Not all range inputs are relevant at all times. Beegraphy allows you to declutter the interface by hiding unnecessary inputs.
- How to Hide Inputs: Right-click on an input to hide it from the configurator interface.
- Unhiding Inputs: If you need a hidden input later, you can easily reveal it by navigating back to the input settings.
This feature ensures that users focus only on relevant parameters, creating a streamlined customization experience.
Exporting Your Beegraphy Models with Ease
Once your model is finalized, Beegraphy’s export features allow you to save and share your work in various formats. These tools are designed to accommodate diverse use cases, from 3D printing to CAD software integration.
Exploring Export Formats
Beegraphy supports several export formats, making it versatile for different industries:
- STL: Ideal for 3D printing applications.
- DXF: Perfect for CAD software and 2D layouts.
- Other Formats: Depending on your requirements, Beegraphy may support additional formats that suit specific workflows.
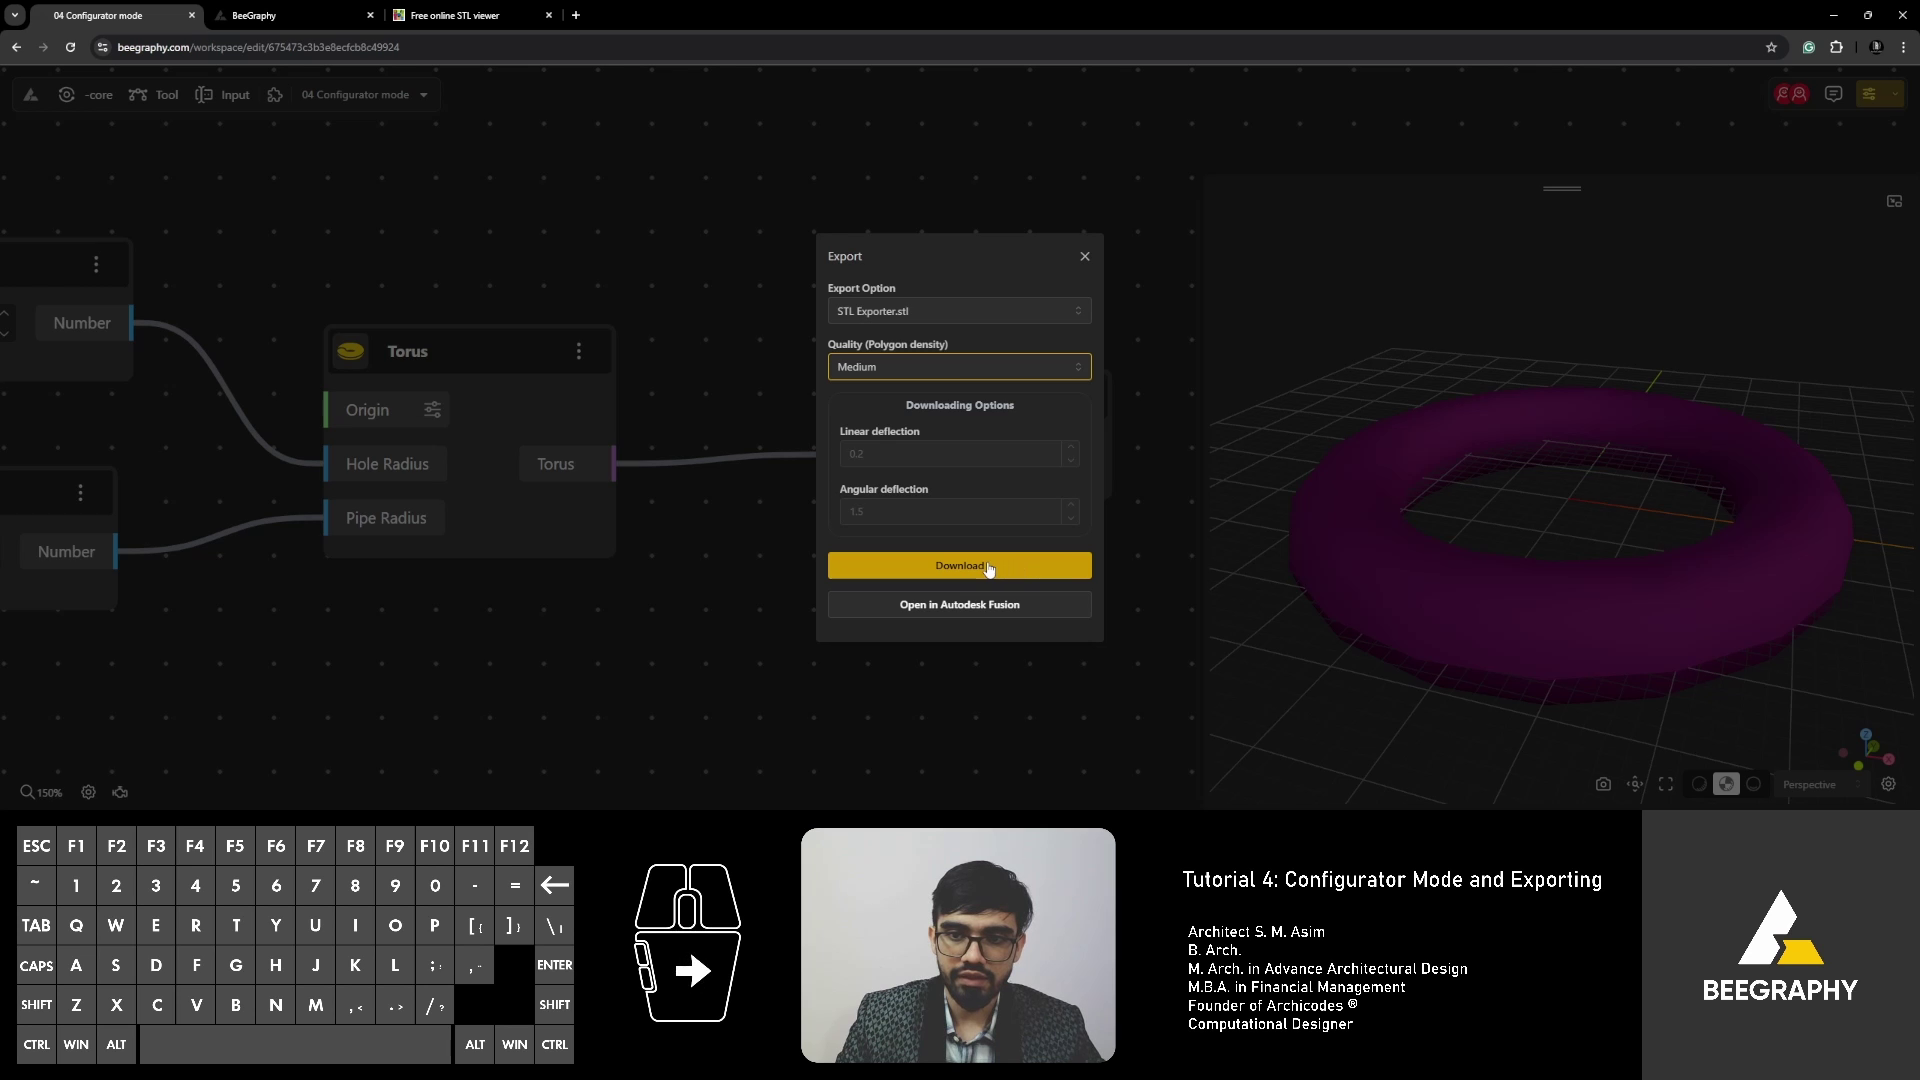
To export a model, type the desired export command in the command line, specifying the format and geometry.
Exporting Single or Multiple Geometries
For complex models with multiple components, Beegraphy allows you to export individual geometries or combined files:
- Exporting Single Geometries: Select the specific geometry you want to export. This is useful when working on modular designs or when you need to isolate elements for fabrication.
- Exporting Multiple Geometries: Connect multiple components to the exporter and save them as a single file or as separate entities based on your needs.
Customizing Export Settings
Beegraphy’s export settings let you fine-tune outputs for optimal results:
- Quality Settings: Adjust resolution and precision to balance file size and detail.
- File Naming: Rename files to reflect their content, helping you stay organized during post-export processing.

Advanced Techniques for Optimizing Workflow
For users managing complex projects or frequent exports, Beegraphy offers advanced tools and strategies to boost efficiency:
Managing Complex Geometries in Configurator Mode
- Hiding Unnecessary Geometries: Simplify the workspace by hiding elements not currently needed.
- Organizing Range Inputs: Clearly label and group range inputs to make the interface intuitive and manageable.
Optimizing Model Parameters for Smooth Export
- Set Appropriate Ranges: Ensure ranges are within practical limits to prevent model crashes or errors.
- Review Scripts Regularly: Tidy up and optimize scripts for better performance and easier troubleshooting.
Integrating Configurator Mode with Export Features
The seamless integration between configurator mode and export functionality is a major strength of Beegraphy. After customizing your model, you can directly export it with a single click, retaining all adjustments made during configuration.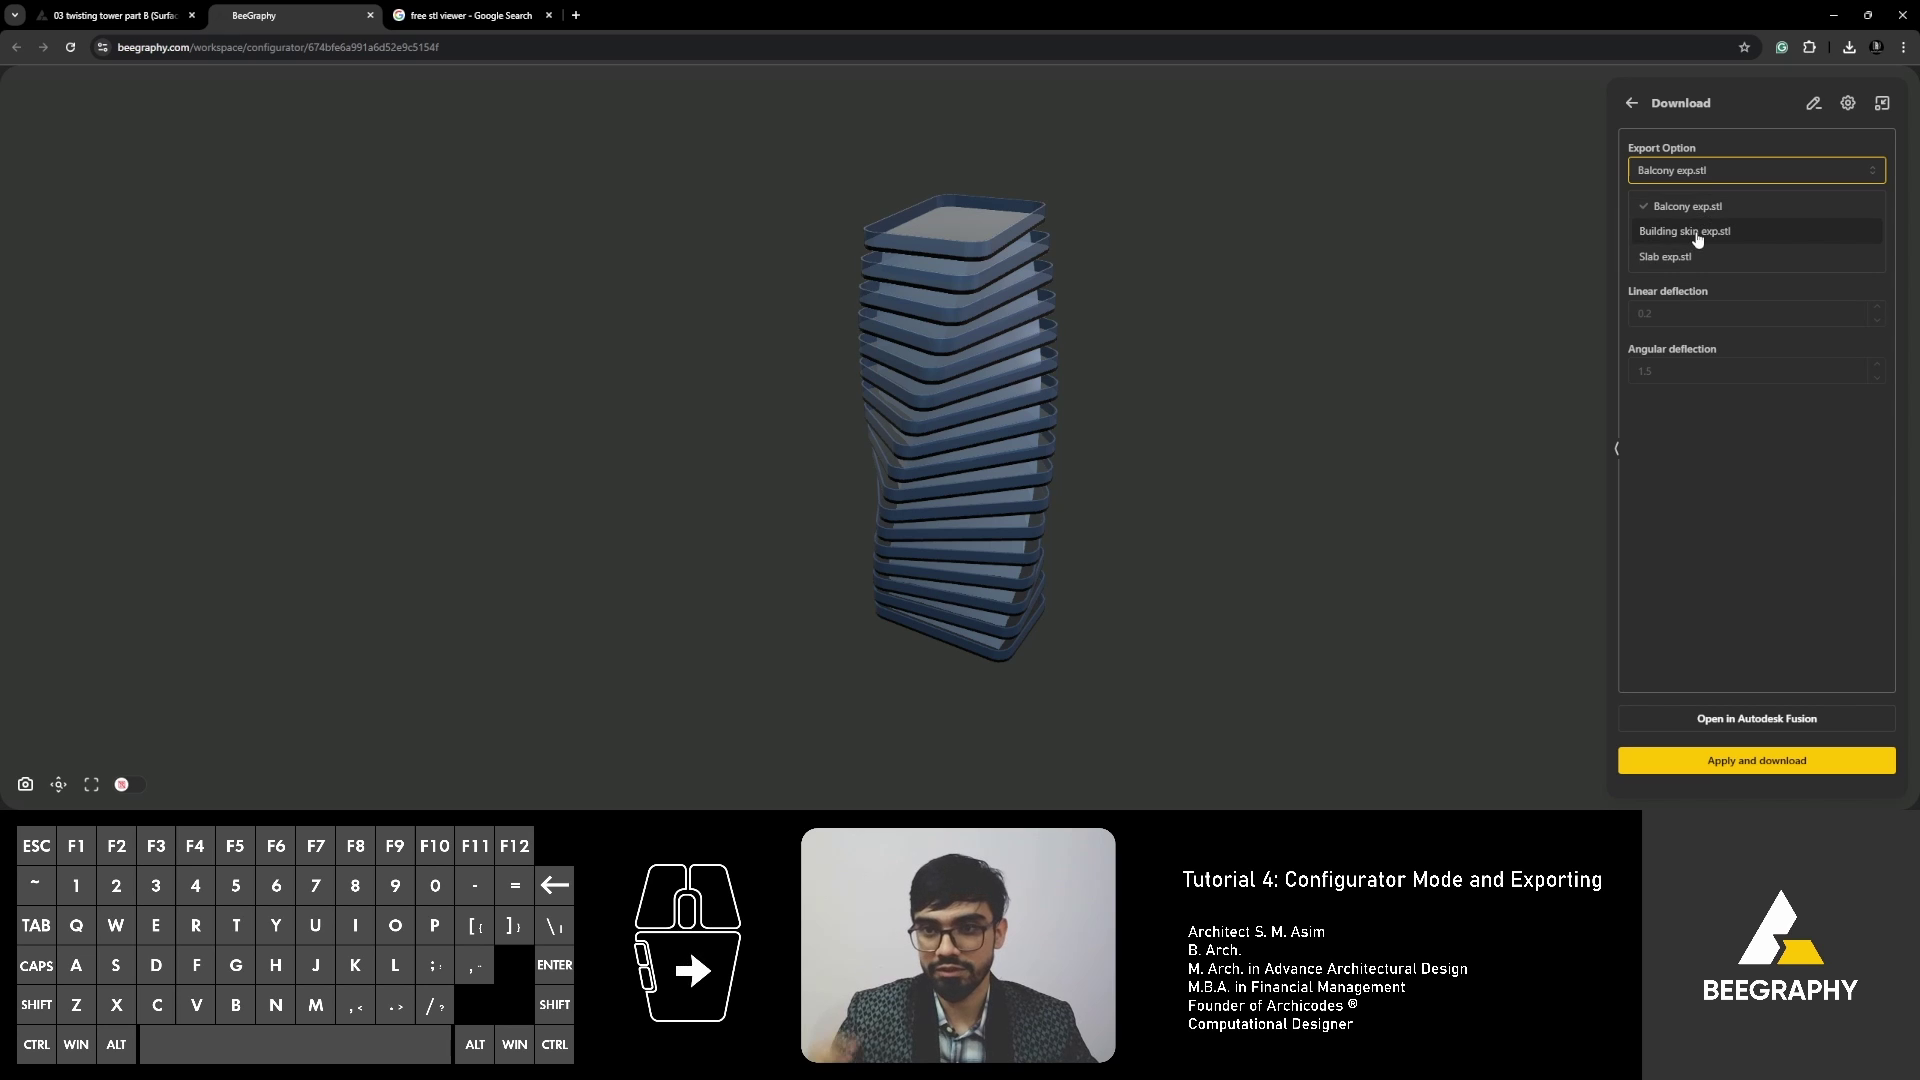
Beegraphy stands out as a user-friendly yet powerful platform for computational design. Its configurator mode and export features enable anyone, regardless of technical expertise, to create and customize dynamic 3D models.
Key Takeaways
- Configurator Mode: Simplifies the customization process with sliders and real-time updates.
- Export Features: Offers flexibility with formats, settings, and geometry selection, catering to diverse project needs.
Next Steps
Take your skills further by exploring Beegraphy’s advanced features, such as real-time collaboration, embedding models into websites, and publishing designs in the marketplace.
About Beegraphy
Beegraphy is a cloud-based computational design platform that combines innovation with accessibility. Its unique features include real-time collaboration, secure file management, and intuitive customization tools. Whether you’re a student, designer, or educator, Beegraphy is designed to simplify and enhance your creative process.
Explore Beegraphy today and redefine how you approach parametric design. Visit beegraphy.com to get started.
https://www.youtube.com/watch?v=bvodaVd6FUs


