Manufacturing
Machines, Toolbox, Materials, Material Libraries, Material Collections, and Services in the BeeGraphy workspace: define what you can produce.
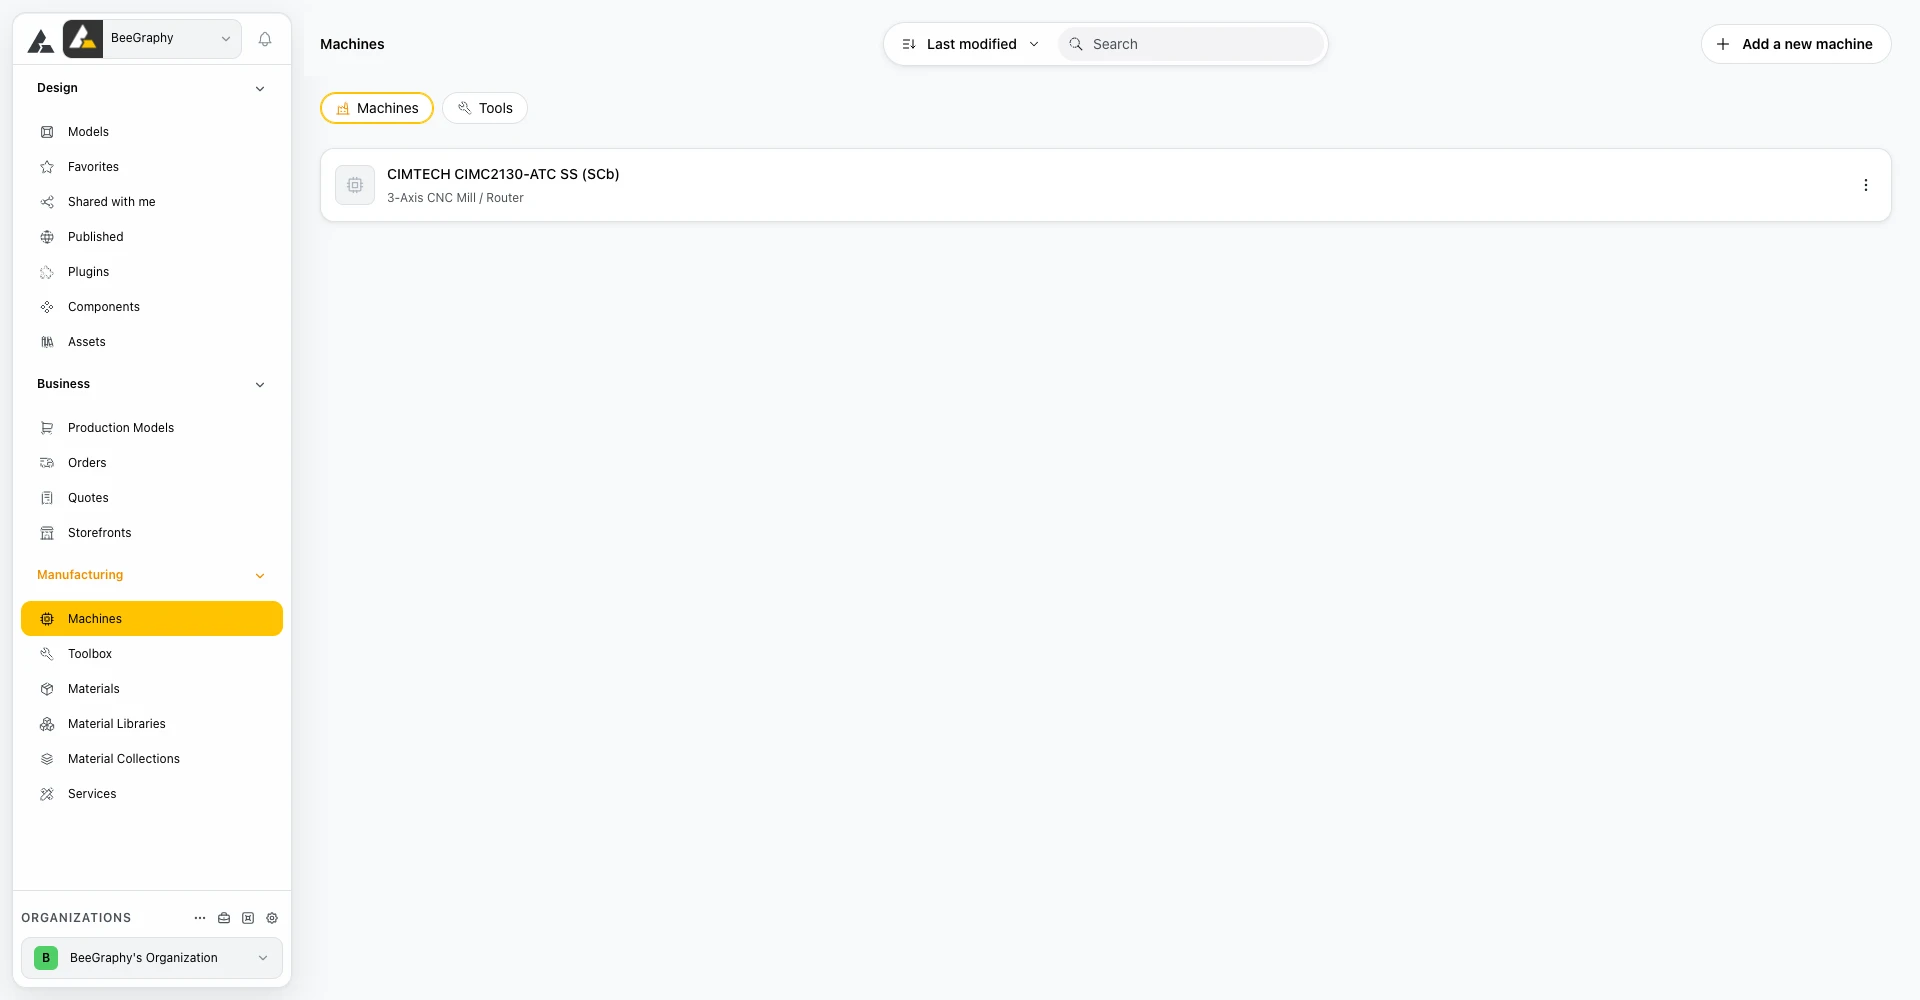
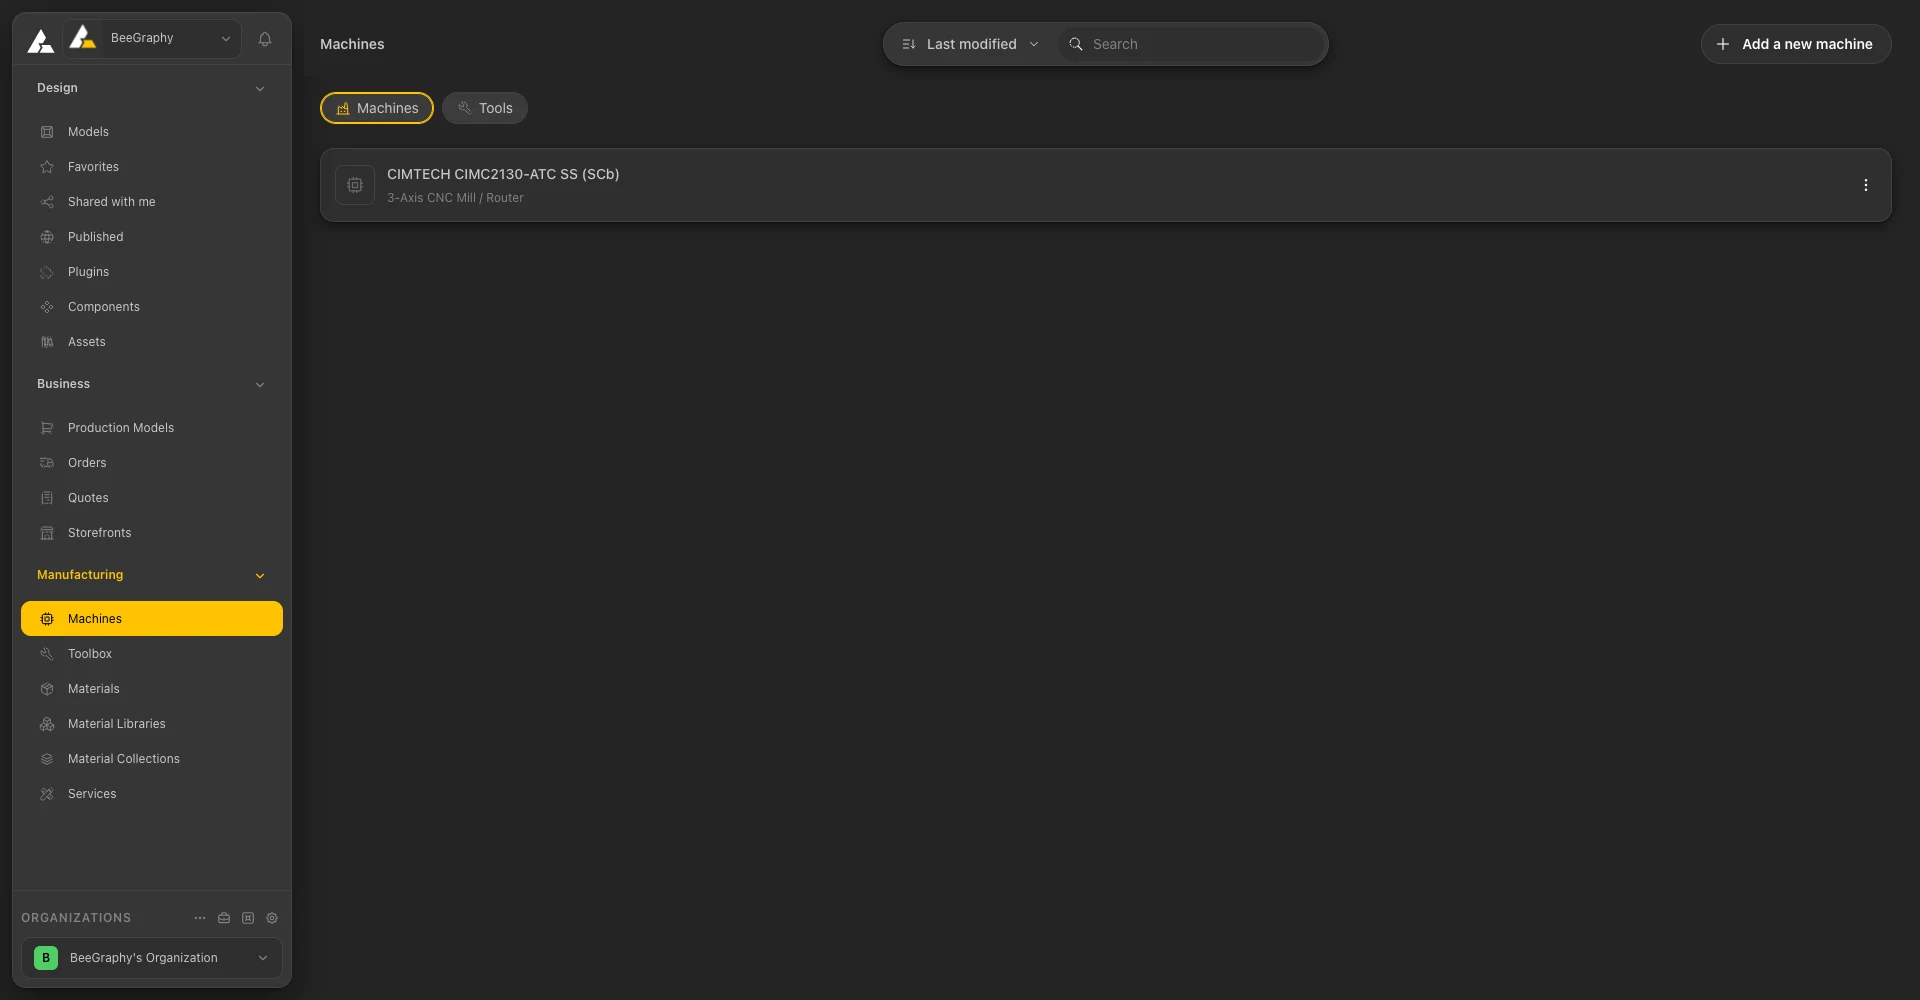
Manufacturing - Machines
01 / Overview
What Manufacturing Is
Manufacturing is the group of the workspace sidebar where you describe what you can produce: your Machines, the Toolbox hardware, the Materials you stock, Material Libraries and Material Collections, and the Services you offer. They belong to the organization you have selected in the switcher at the bottom of the sidebar.
02 / Machines
Machines
Machines is your digital machinery list. The page has two tabs, Machines and Tools, a sort button, a search field, and an Add a new machine button. Each machine appears as a row with its name and class.
Adding a machine
Click Add a new machine. The dialog has three steps.
- Choose the machine type. The available types are:
- 3-Axis CNC Mill / Router
- Laser Cutter / Engraver
- FDM 3D Printer
- Plasma Cutter
- CNC Lathe (Turning Center)
- Waterjet Cutter
- SLA 3D Printer
- Knife Plotter / Vinyl Cutter
- 5-Axis CNC Mill
- EDM (Wire Electrical Discharge)
- 6-Sided Drilling Machine
- Edgebander
- Format Saw
- Labeling Machine
- Edge Drilling Machine
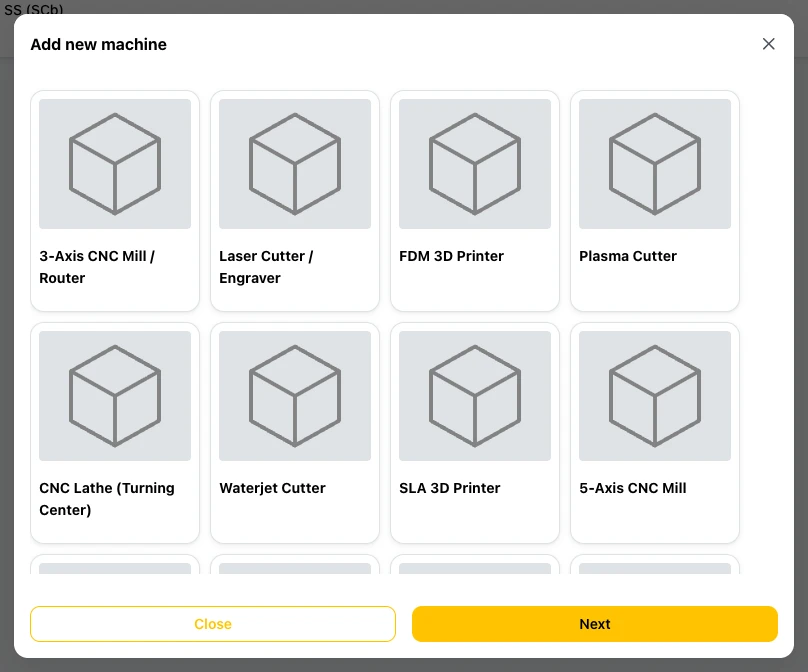
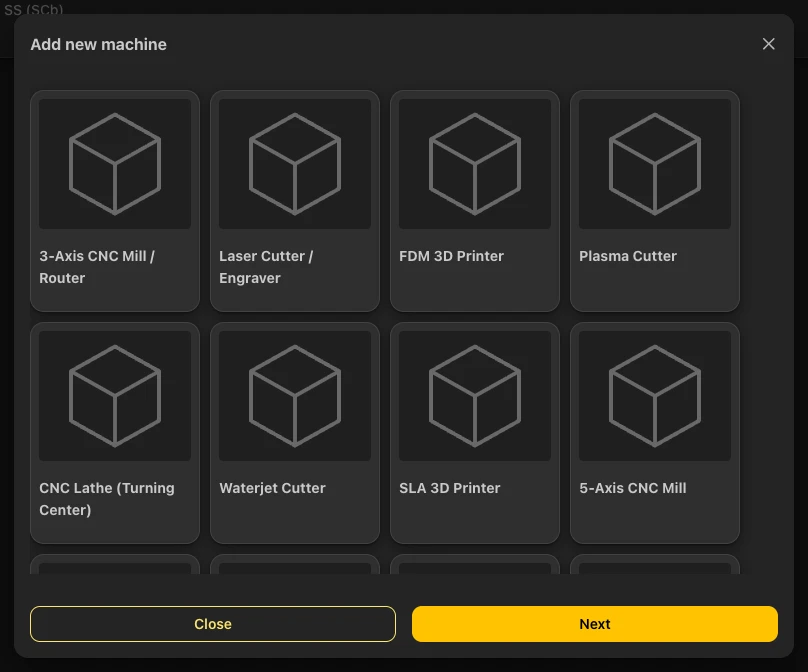
Step 1 - the machine type
- Choose a preset. For a 3-axis CNC mill the presets are Filato (Mebelnuy Klub), Isel OverHead M40 Gantry, and CIMTECH CIMC2130-ATC SS (SCb).
- Review and finish. The last step shows the Machine Name, the Basic Information (machine class), the Machine Specifications (max spindle RPM, max feed rate, and post-processor) and a collapsed Work Envelope. Click Finish to add the machine.
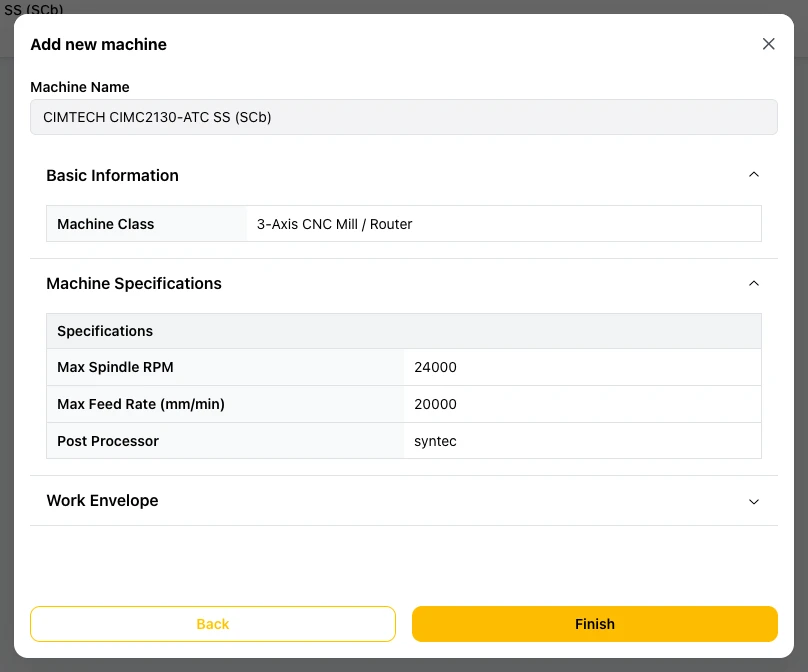
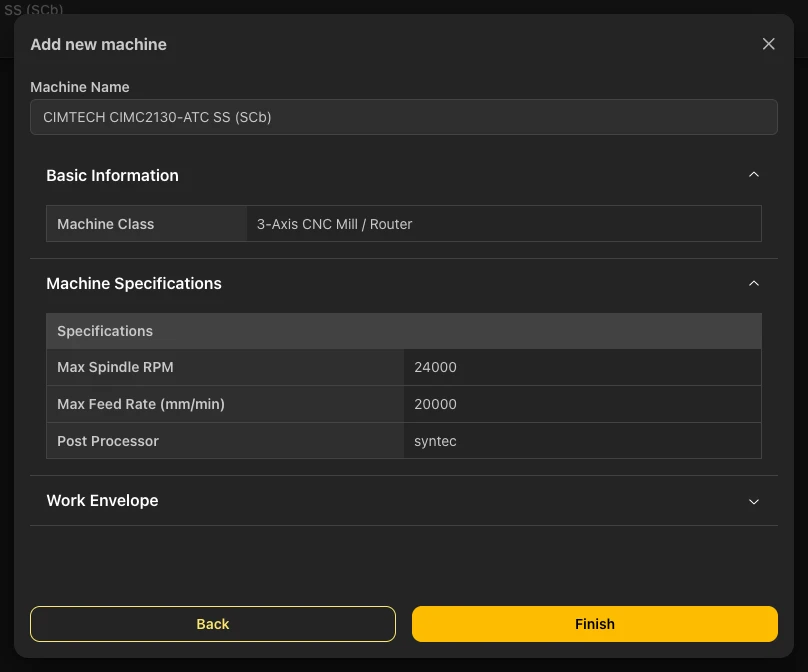
Step 3 - review and finish
The machine page
Click a machine to open its page. It has three tabs - Sequences, Materials, and Tools - and a specification panel on the right with the basic information, the machine specifications, and the work envelope (the travel on the X, Y and Z axes and the total volume). A Z origin setting there defines the Z origin used for this organization's CAM programs on the machine. In Sequences, New sequence creates a sequence for the machine; a new machine says "No sequences yet. Create one for this machine."
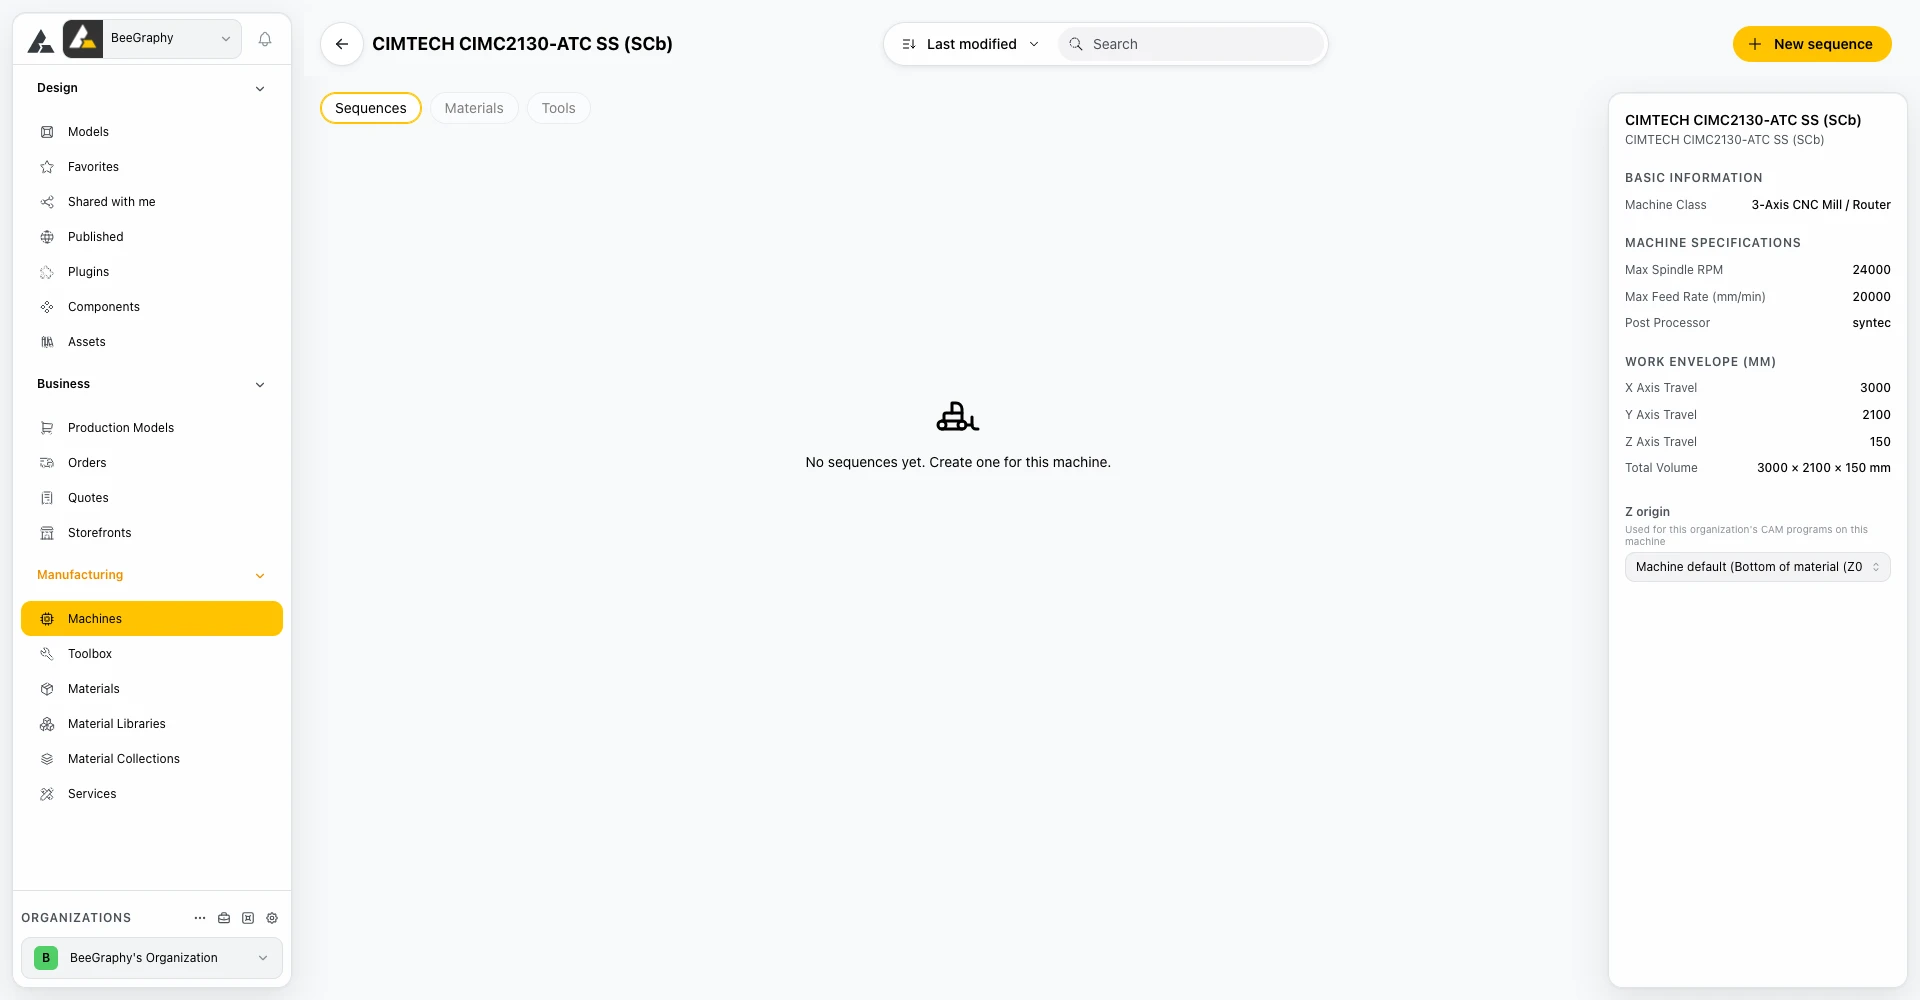
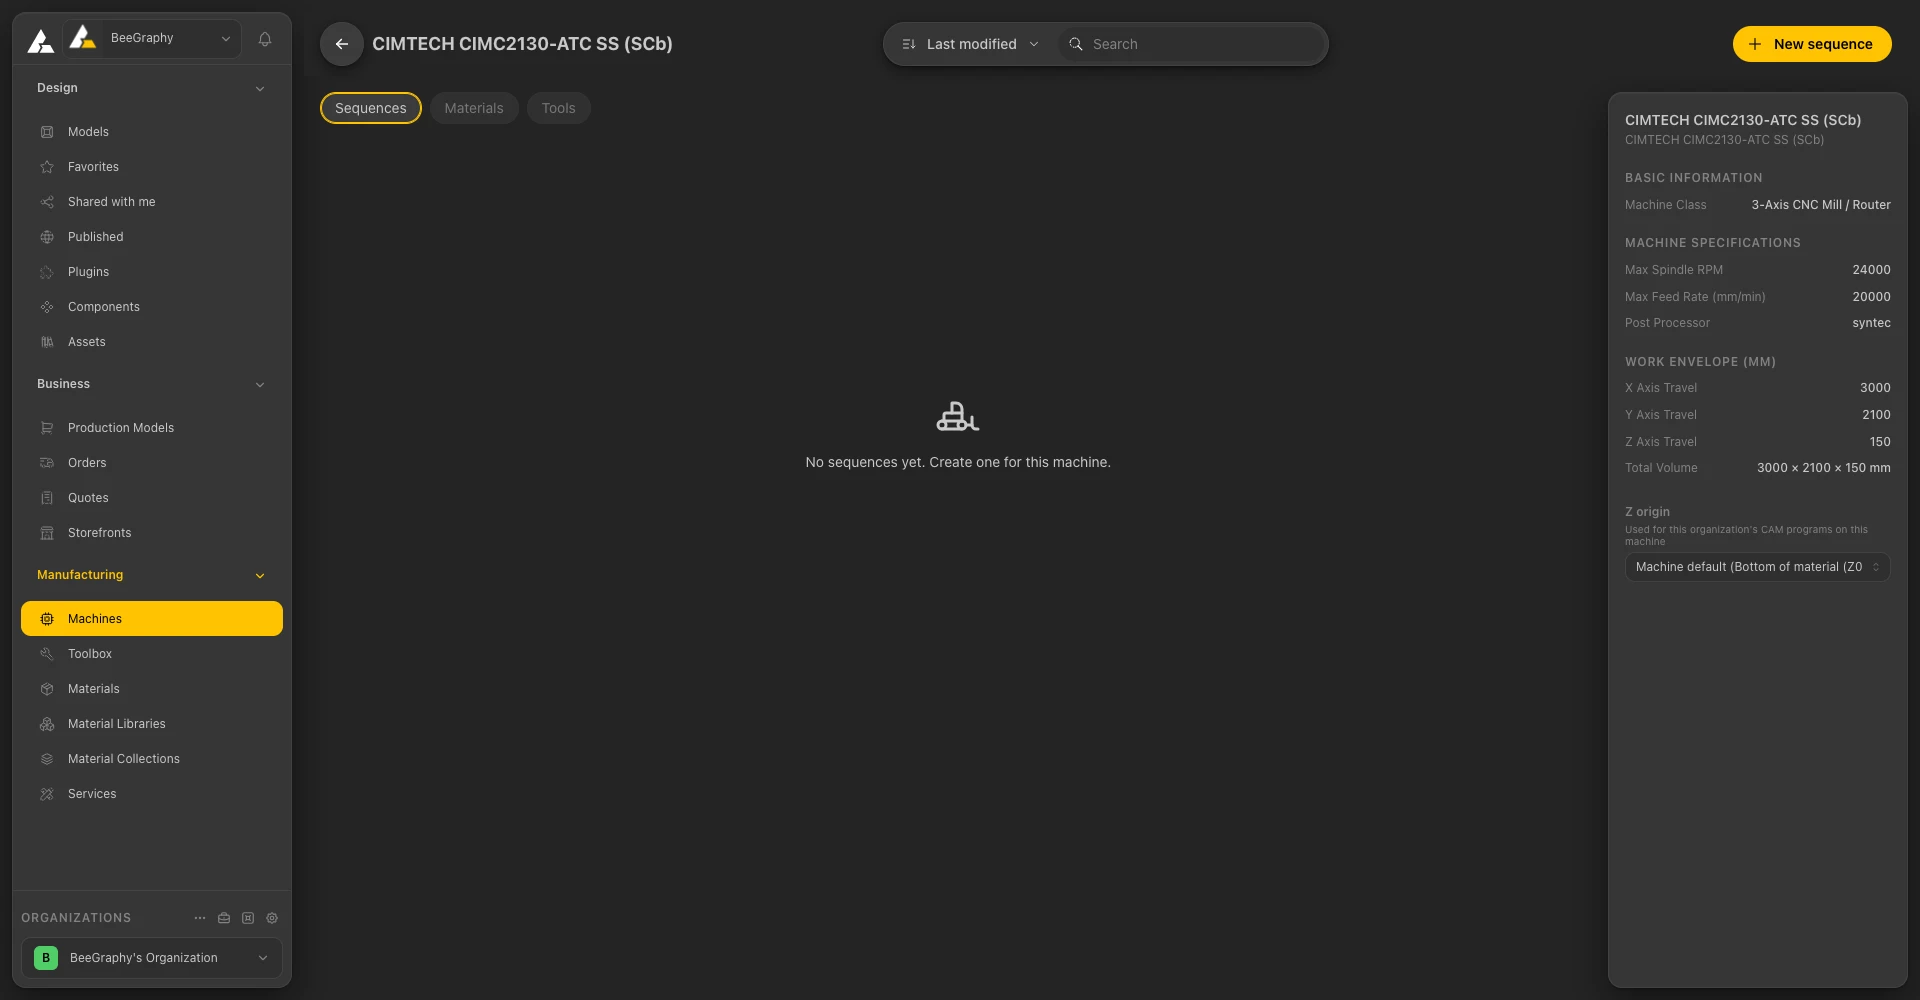
A machine page, opened on the Sequences tab
Tools
The Tools tab of the Machines page is the Tool Management area, where you manage your machine tools, configure their parameters, and organize them by category. Use Add a new tool to add one. Until you do, the page says "No tools yet".
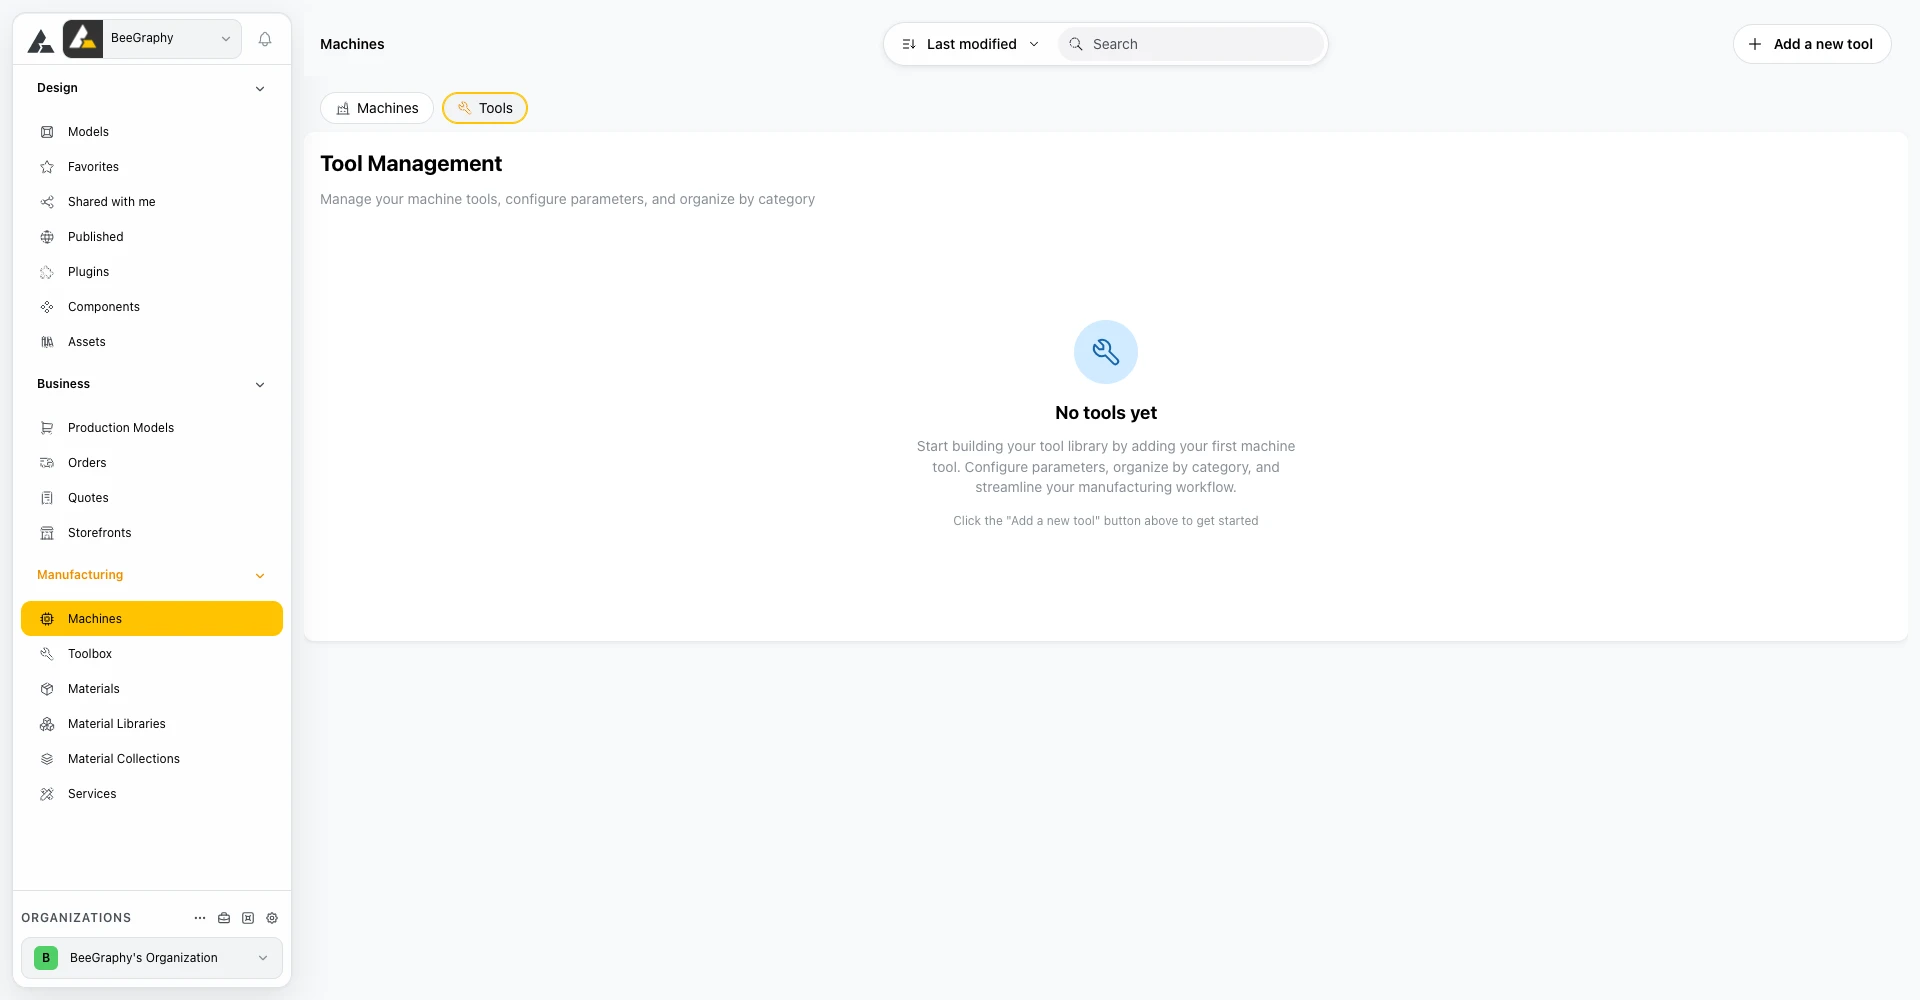
Tool Management
03 / Toolbox
Toolbox
Toolbox has two tabs: Hardware and Toolbox Library. Hardware is what you buy: a Toolbox Model with its parameter values, a SKU, and a price.
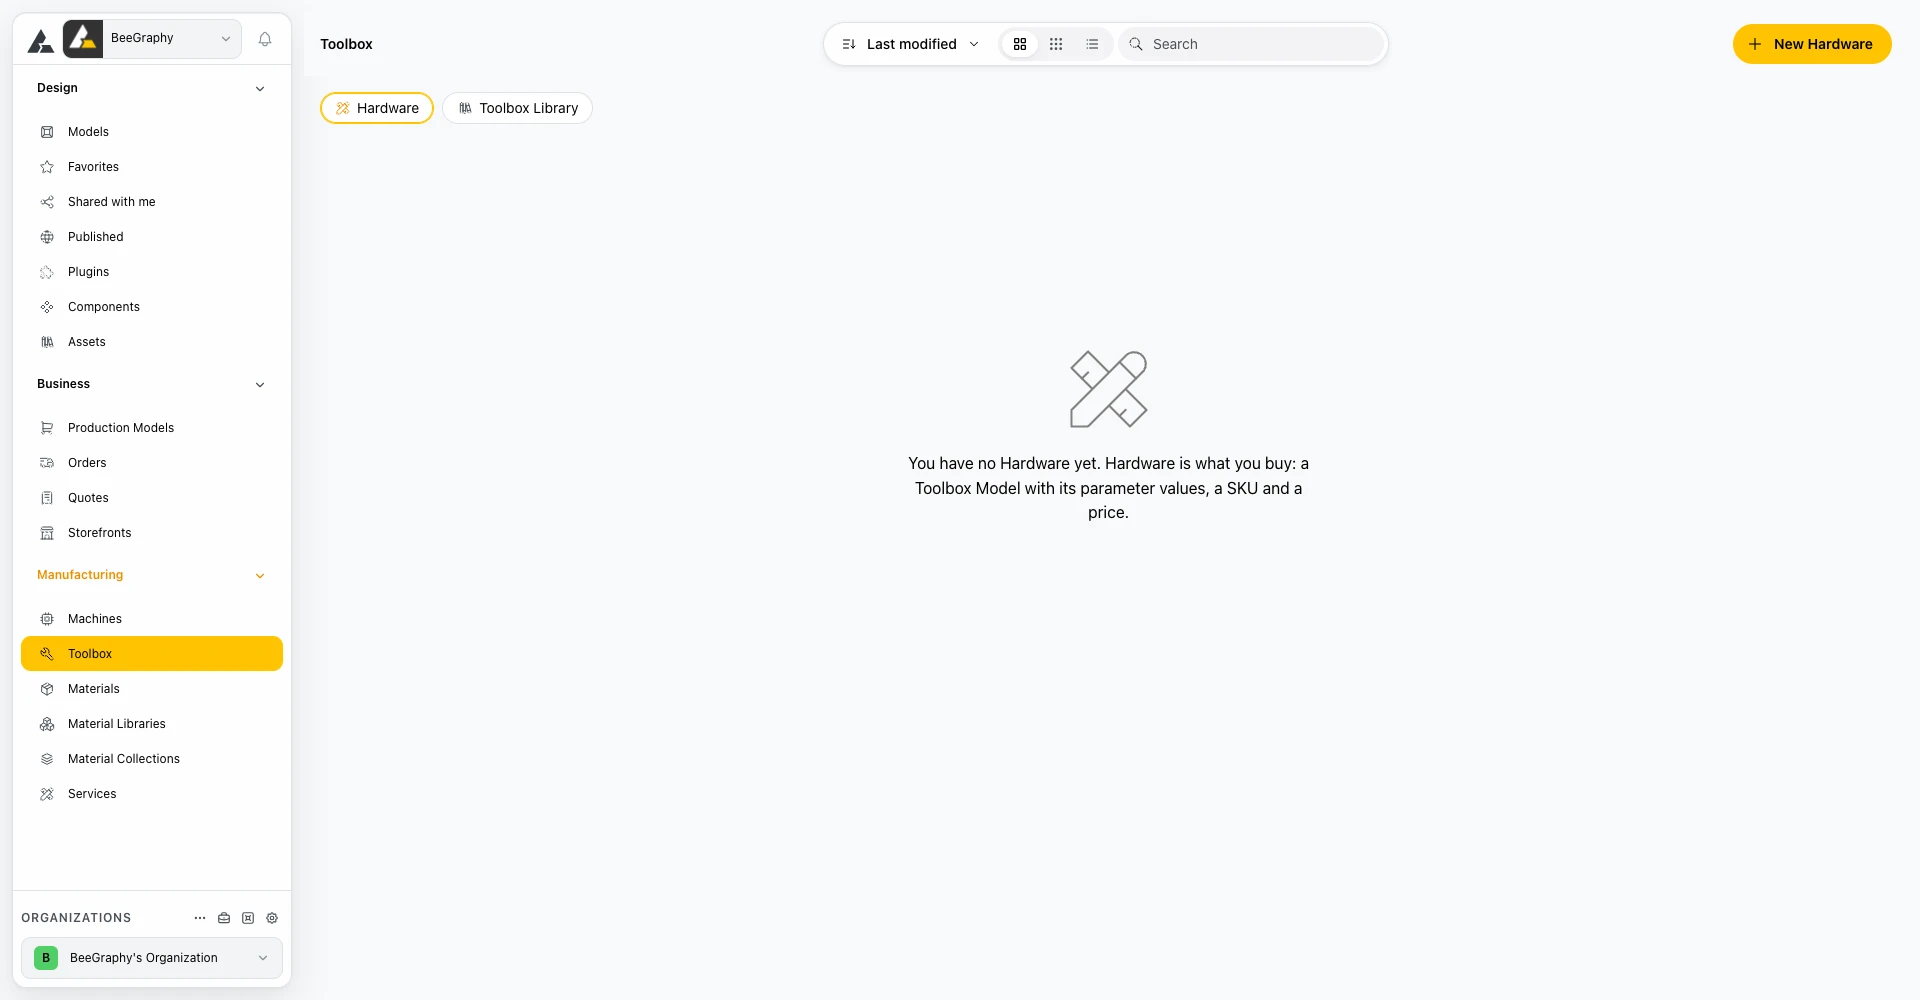
Toolbox - Hardware
Click New Hardware and fill in the dialog: the Toolbox Model, then the hardware details - Name, Brand, SKU, Price, the Stock type (Stock item or Non-stock item), and a Description. Fields marked with a star are required.
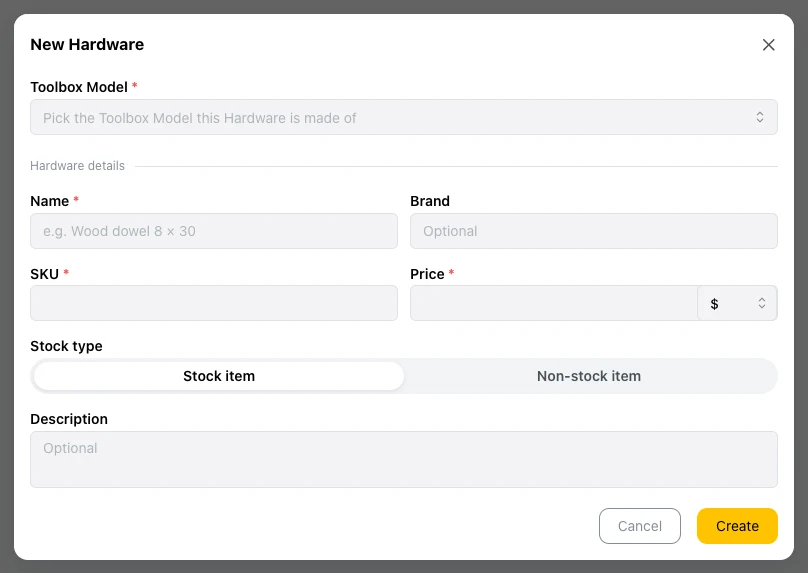
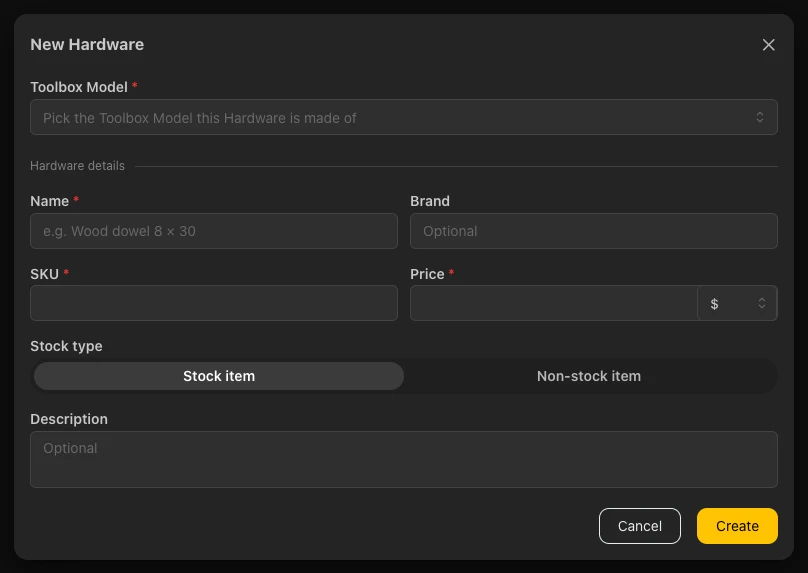
The New Hardware dialog
The Toolbox Library tab has My libraries and Public libraries, and a New Toolbox Library button. A library card shows a Private badge when only you can use it.
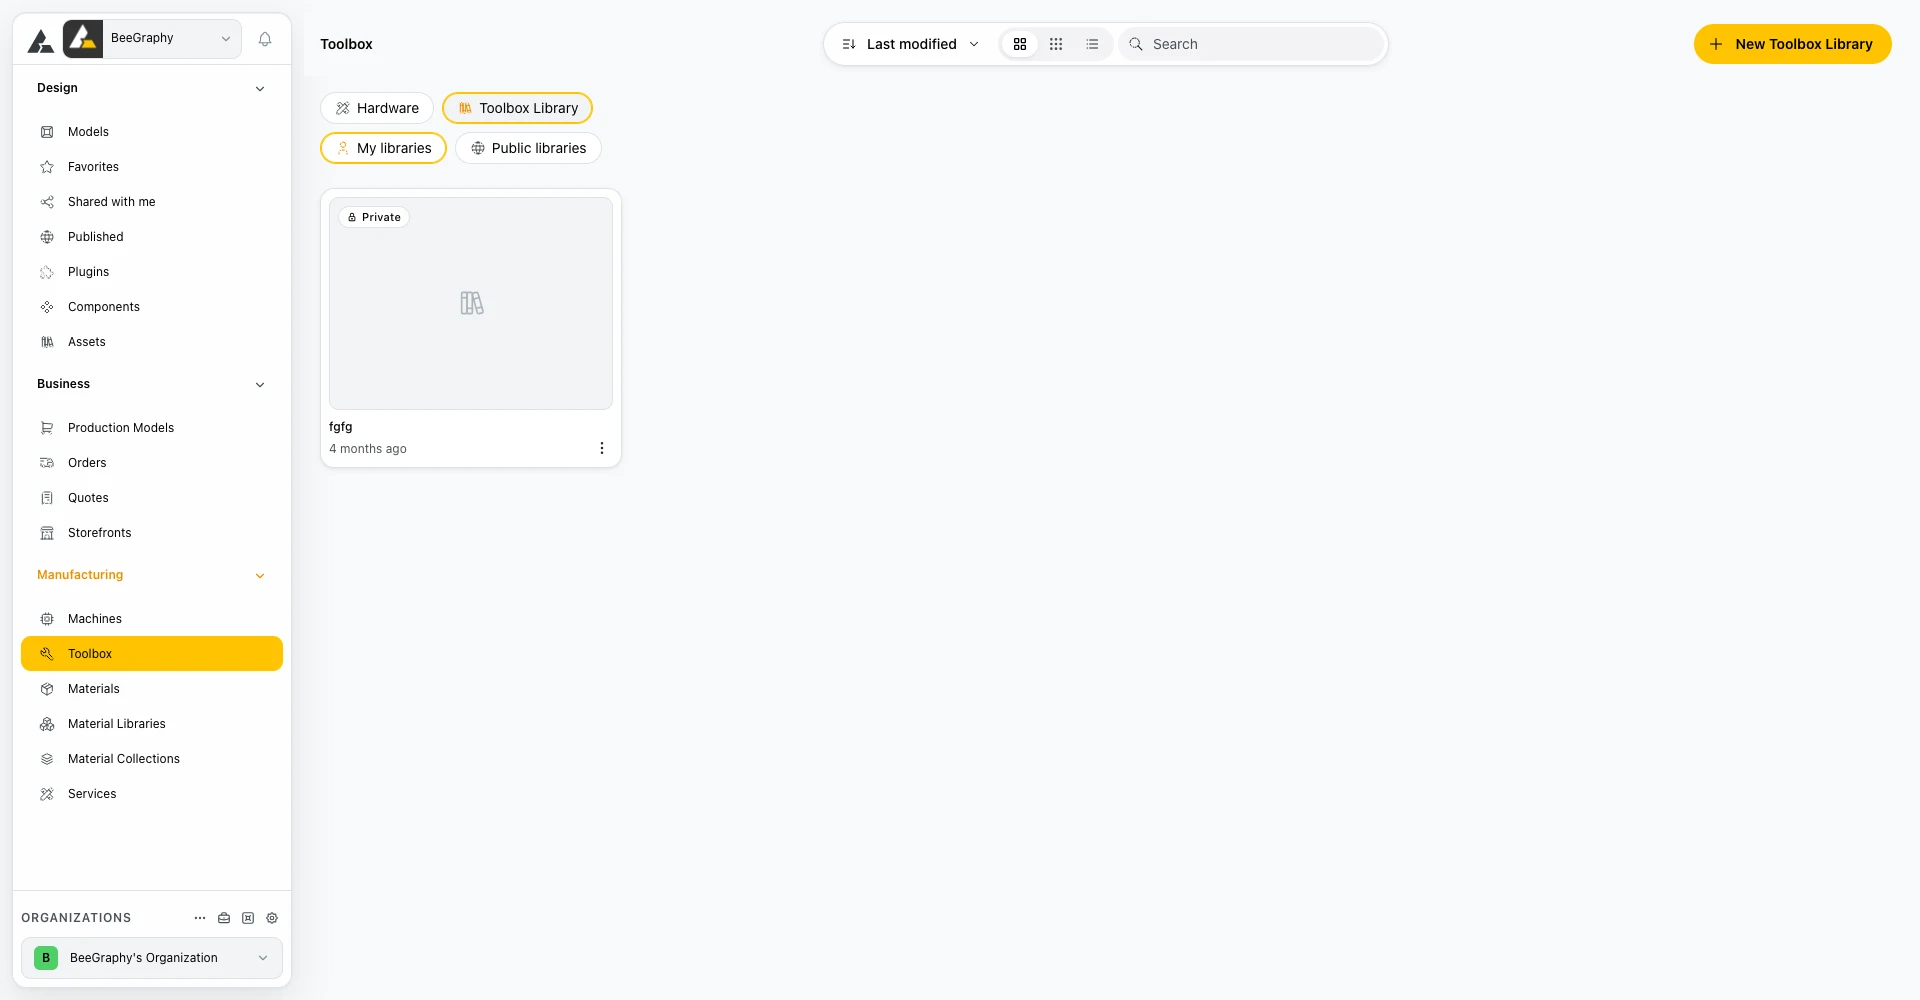
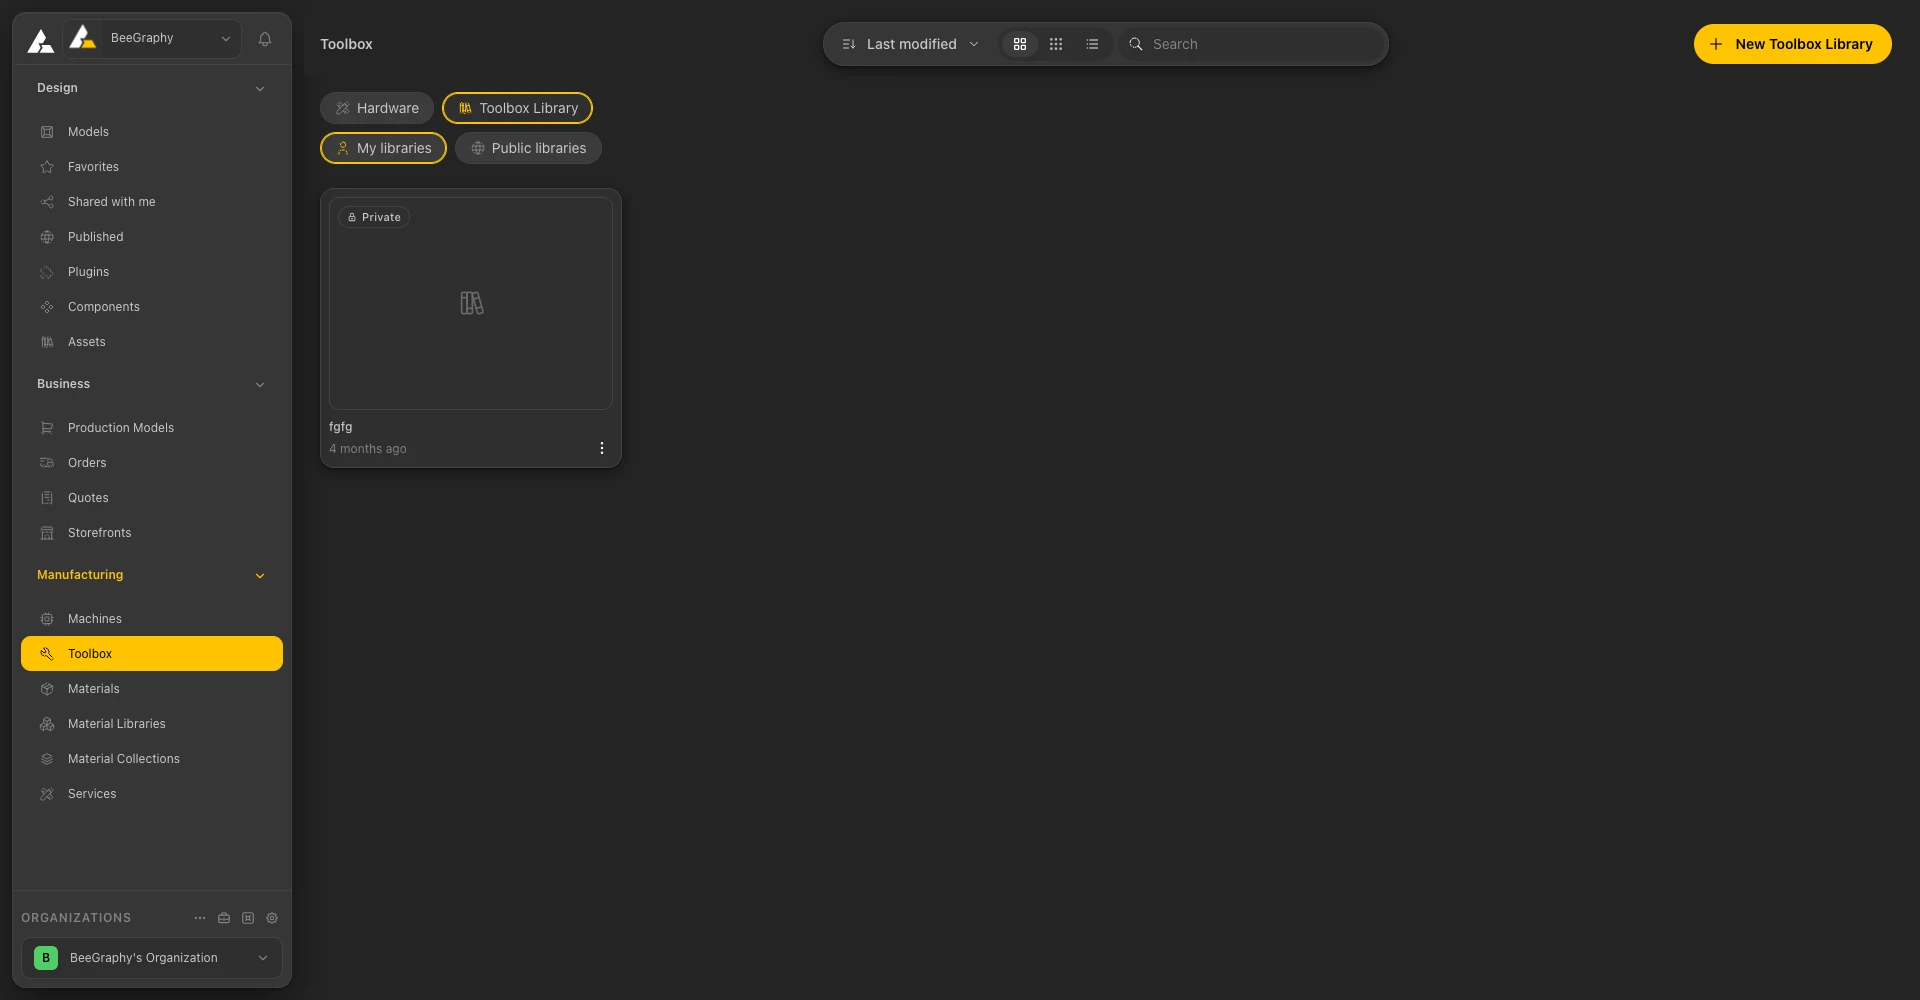
Toolbox Library
04 / Materials
Materials
Materials lists the materials you work with, split into Stock items and Non-stock items, each with a count. A material card shows its name, class (for example Sheet), its dimensions, the pricing Strategy (for example Per piece), the Price, and its Availability. Its three-dot menu has Material properties, Duplicate material, and Delete material.
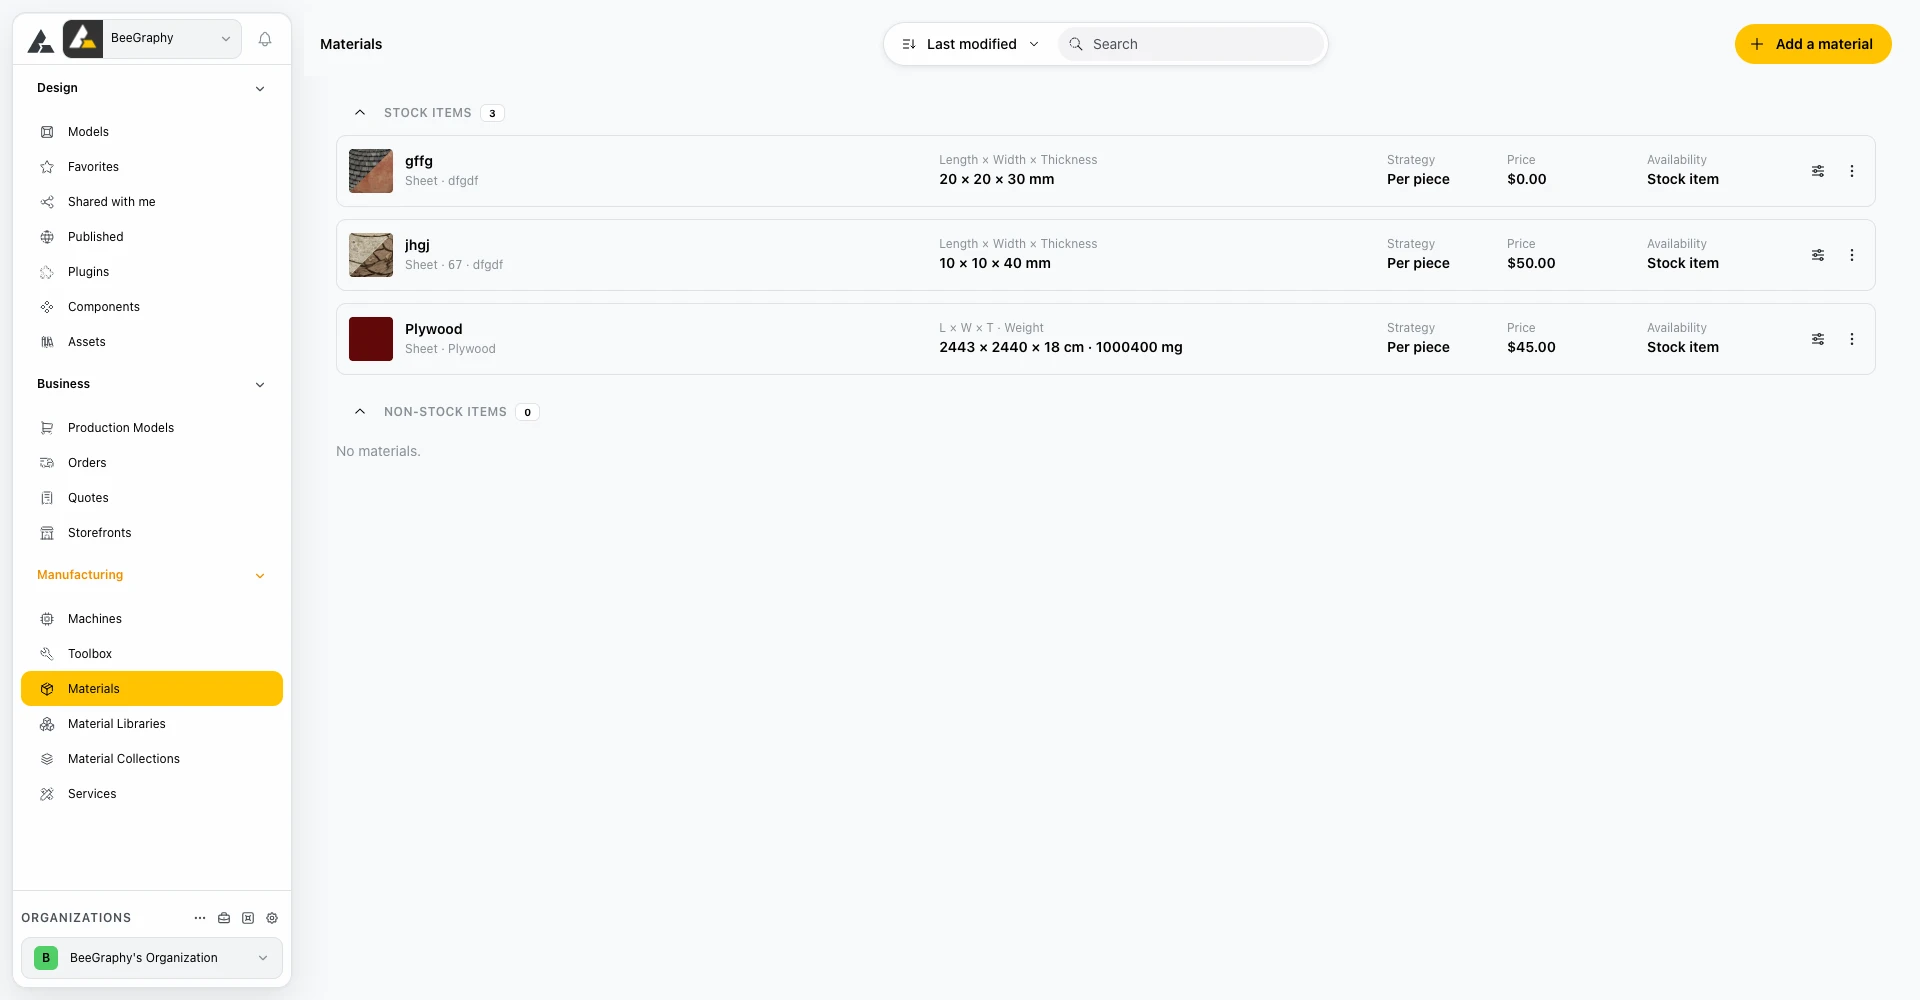
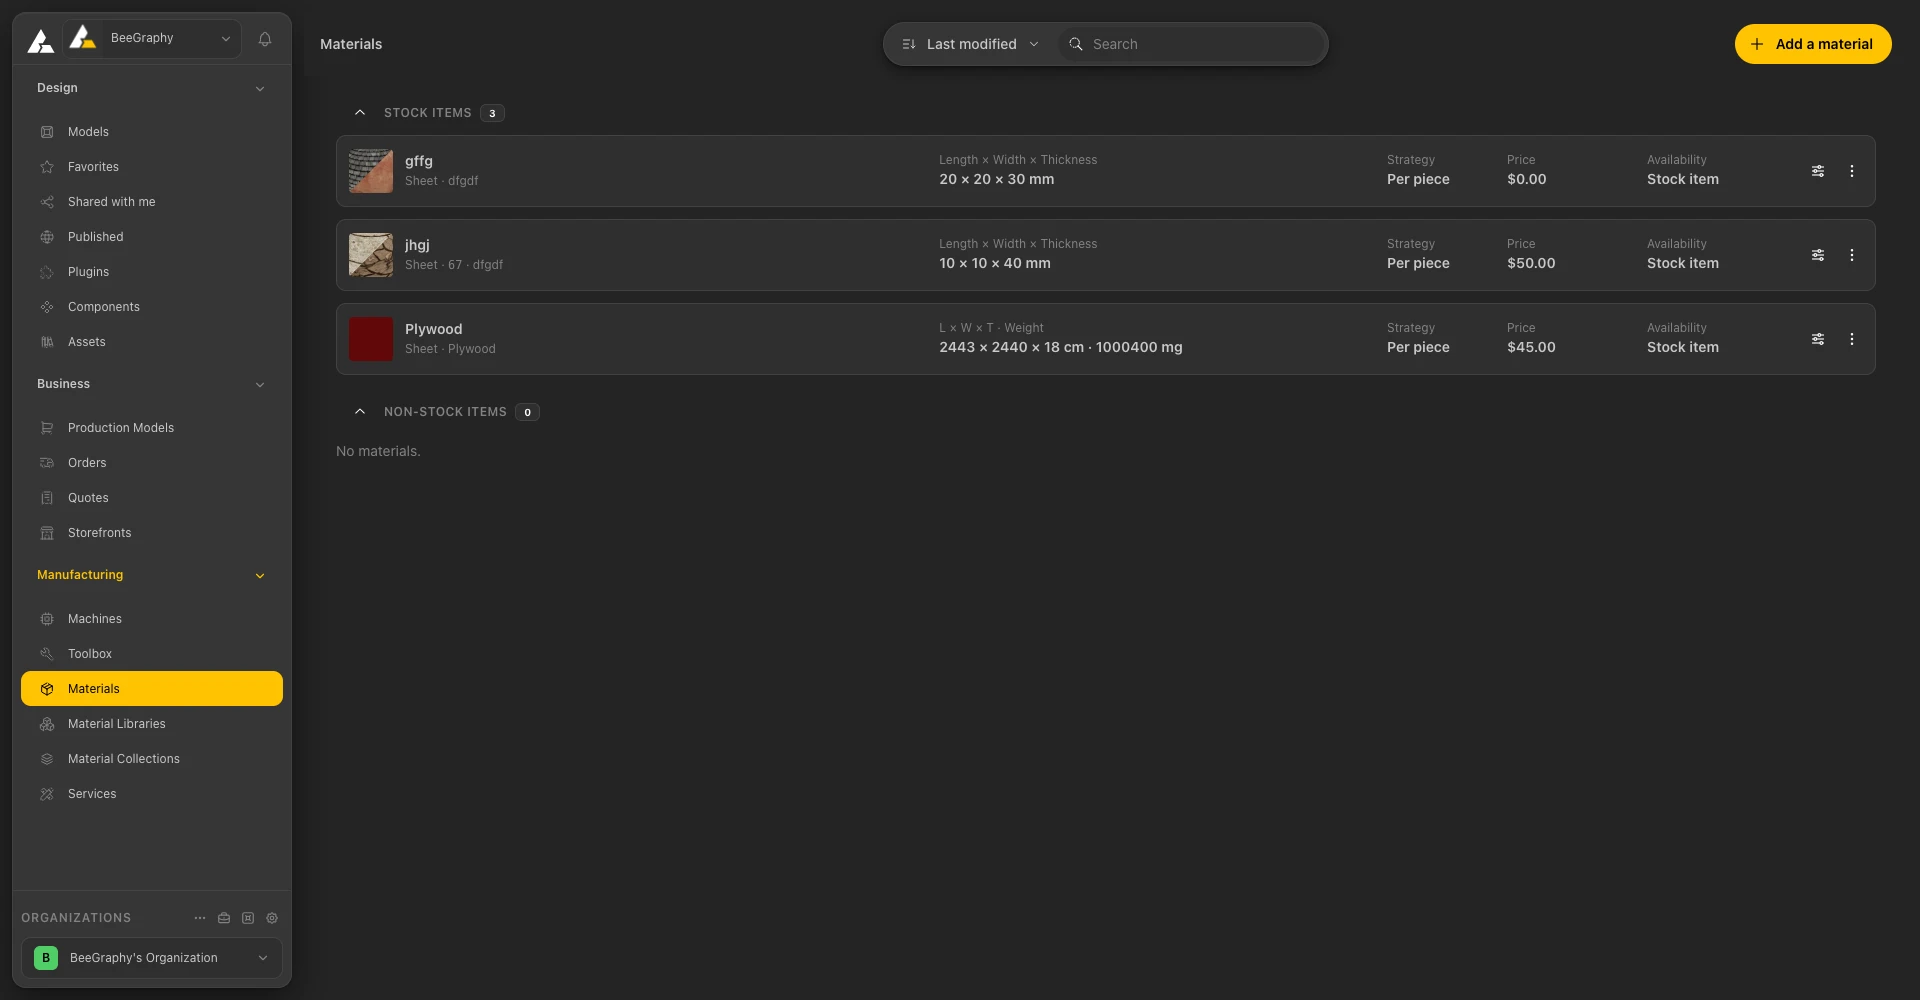
The Materials page
Click Add a material to open the Create material wizard. It has four steps:
- Creation - Name & Codes: Display Name, Internal Name, Material Class, and the optional Part Number, Manufacturer, and Tags.
- Details - Sizes & Price.
- Availability - Store & Times.
- Appearance - Color & Texture.
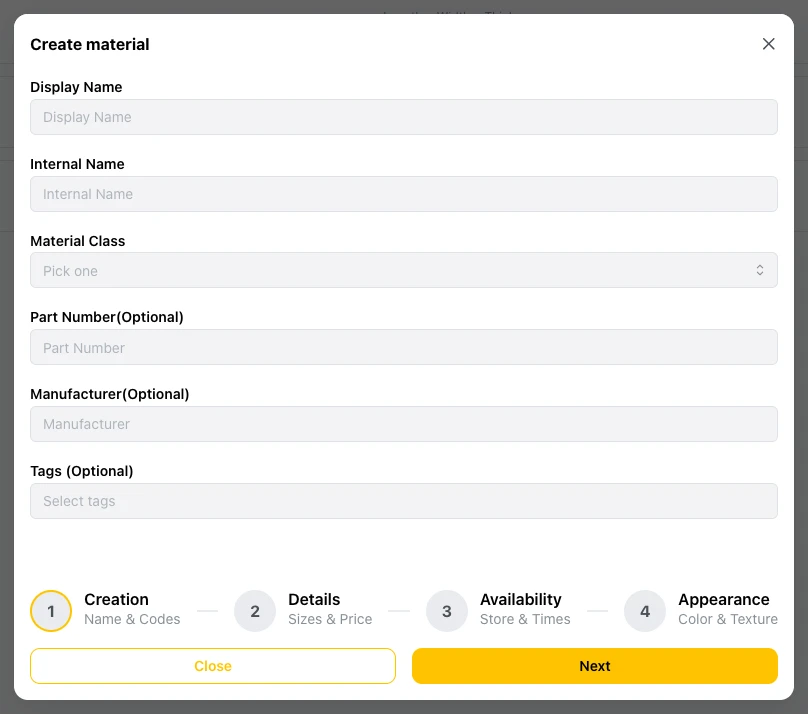
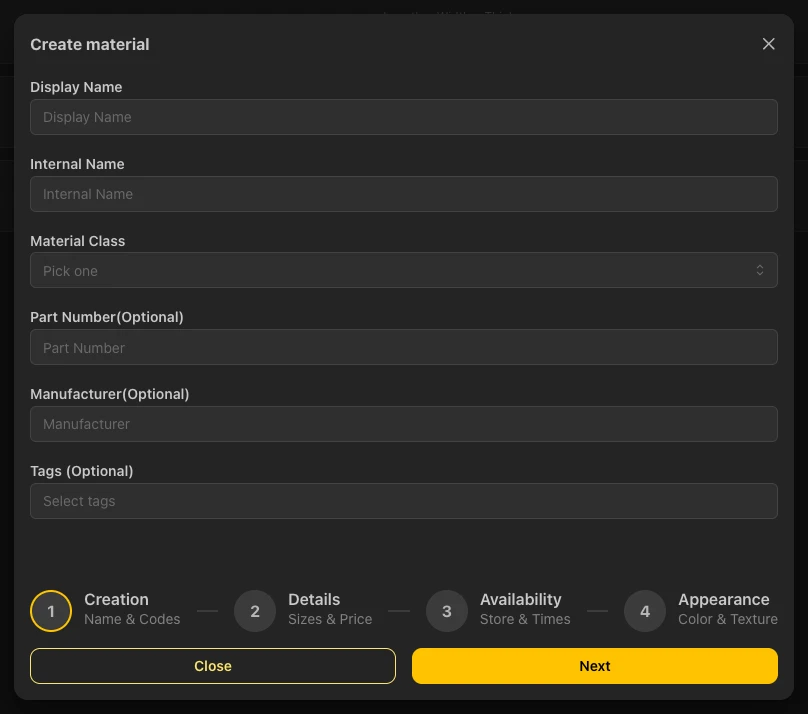
Create material - step 1
05 / Libraries
Material Libraries
Material Libraries has two tabs, My libraries and Public libraries. A library holds Standards, Decors, and Items. Click New Material Library, enter a Name (required) and a Description, and choose the Visibility: Private (only its owner can see and use the library) or Public.
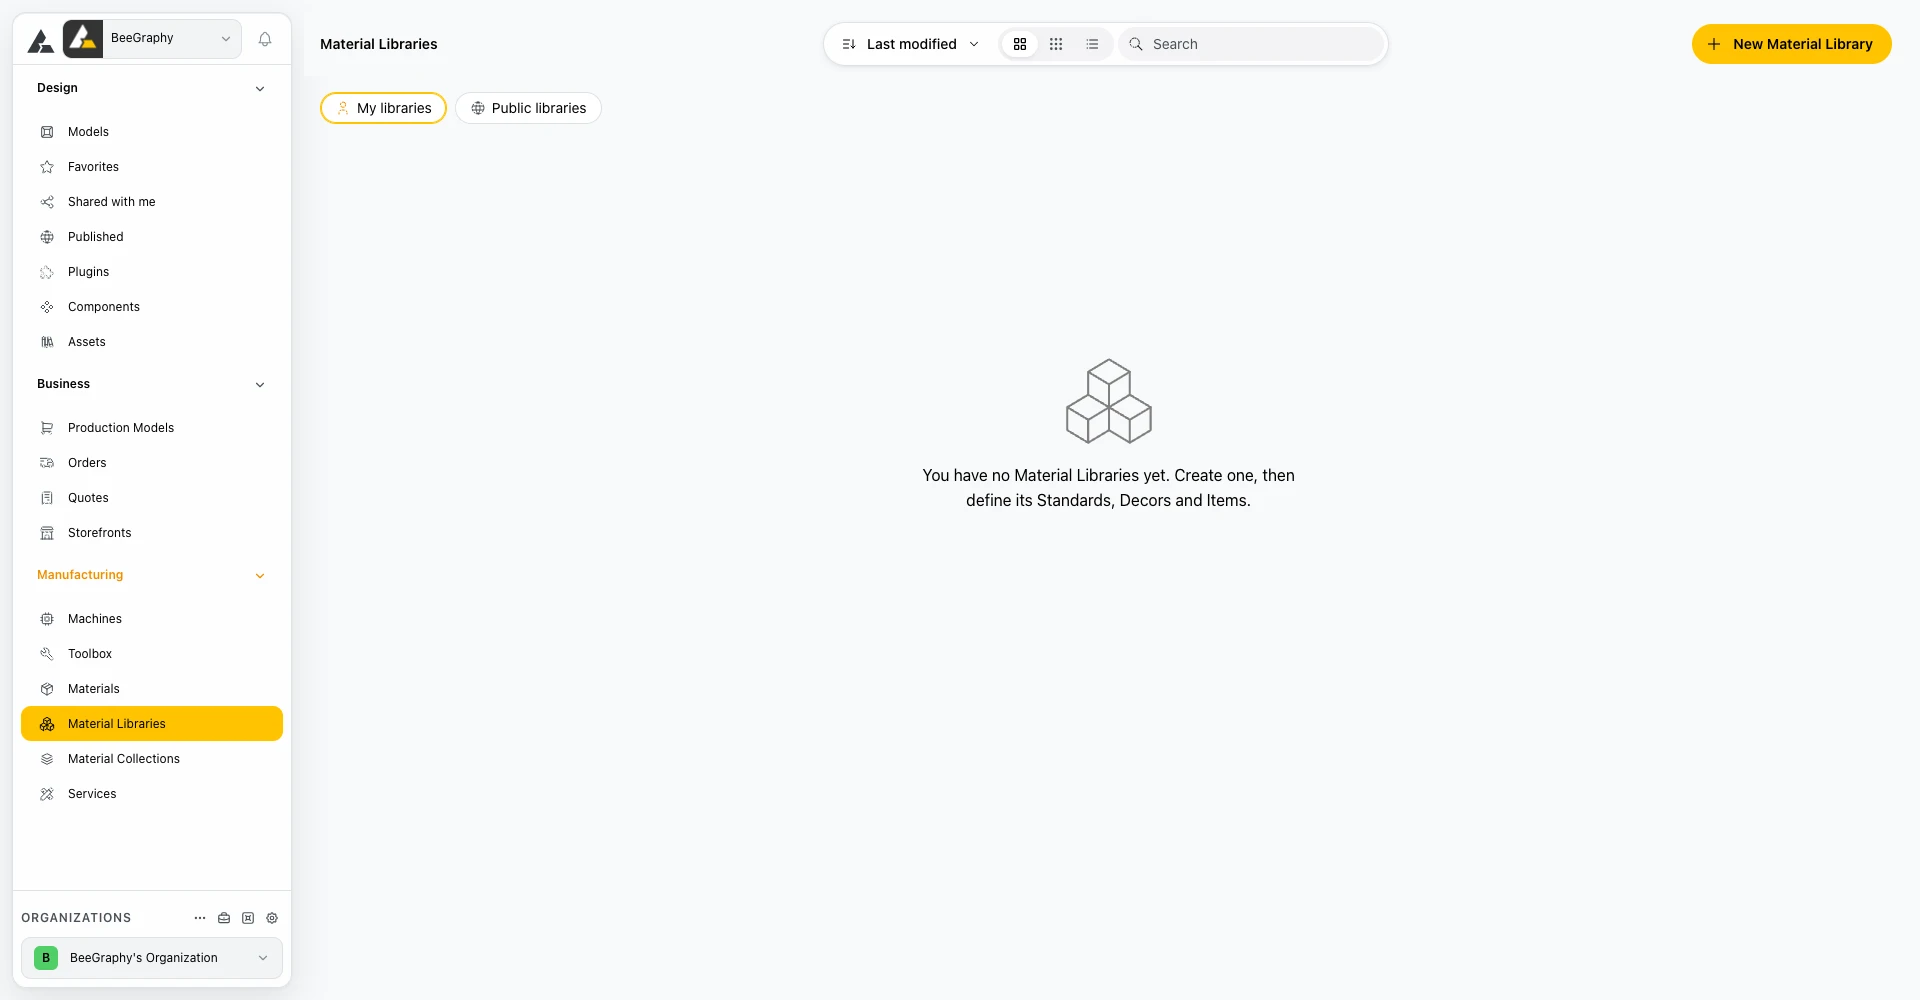
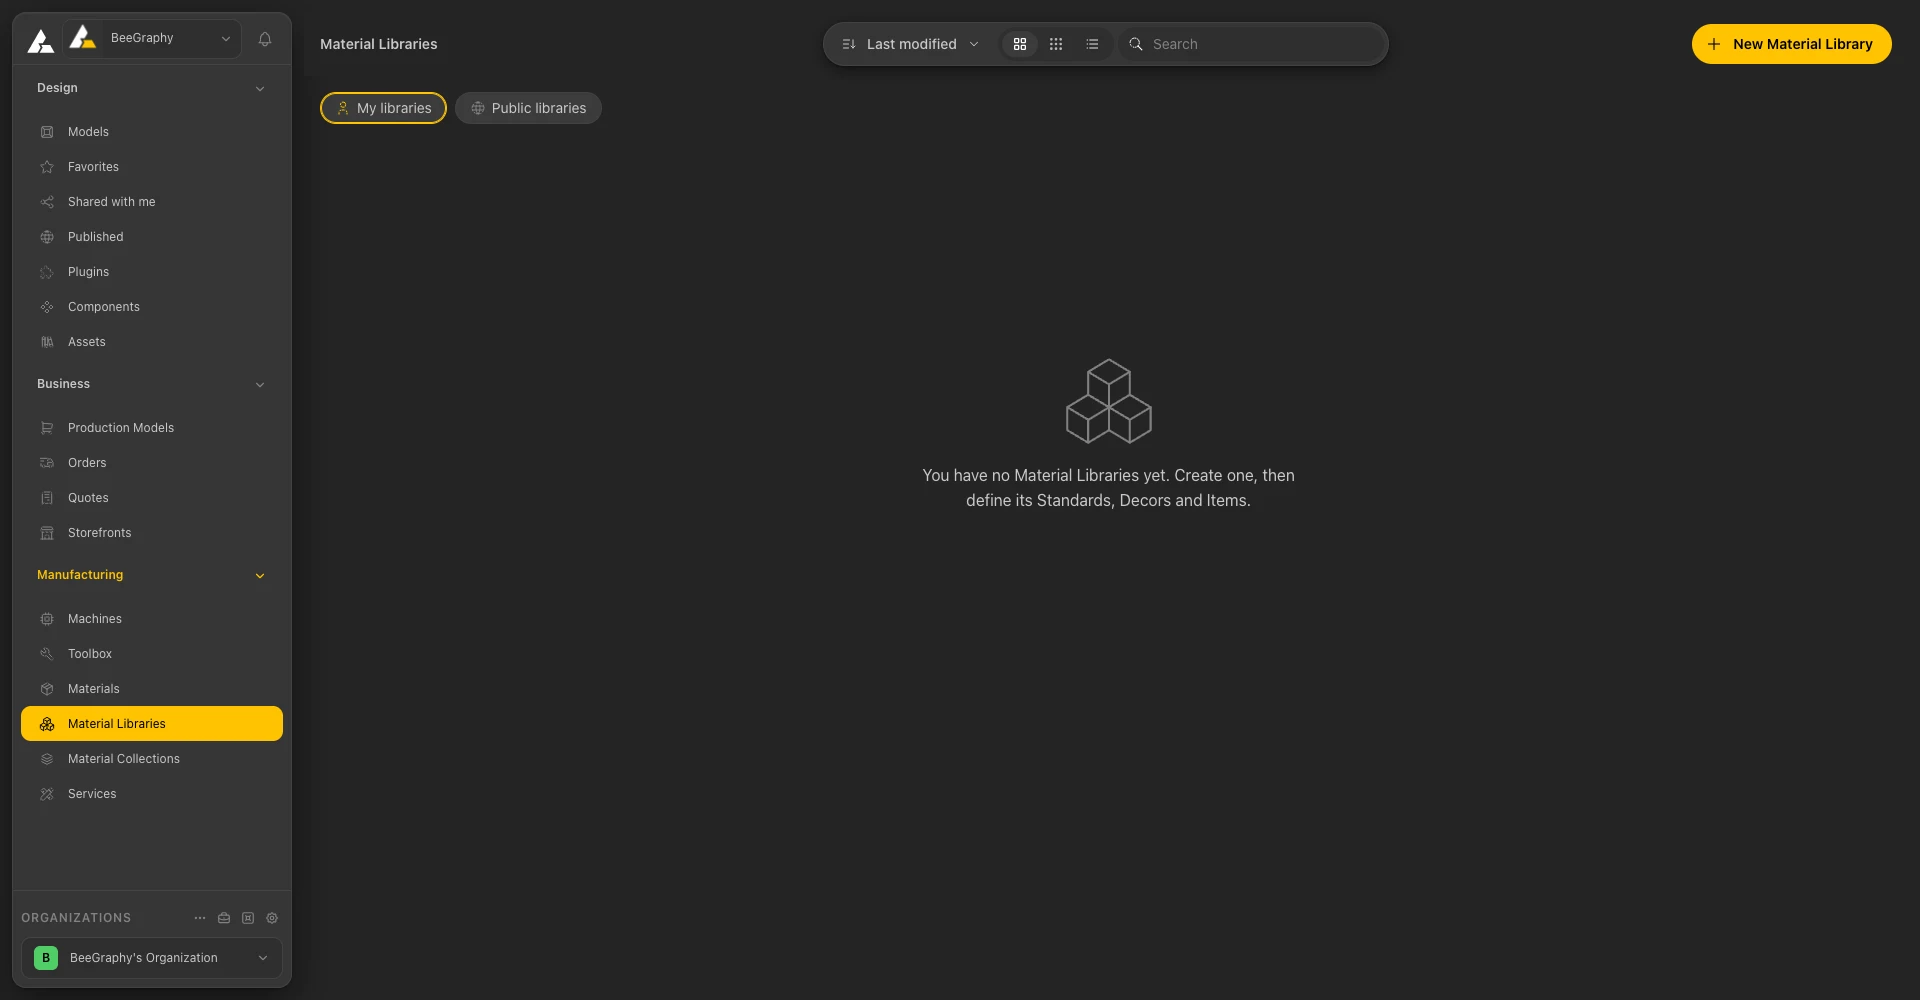
Material Libraries
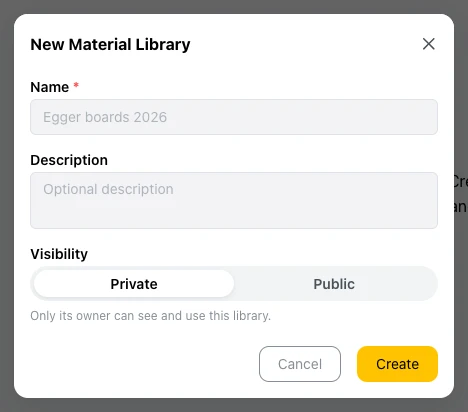
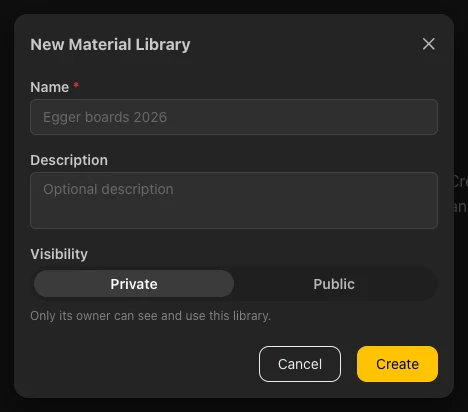
The New Material Library dialog
06 / Collections
Material Collections
A Material Collection gathers the Items you work with from any library you can see. Click New Material Collection, enter a Name (required) and a Description, then add Items to it.
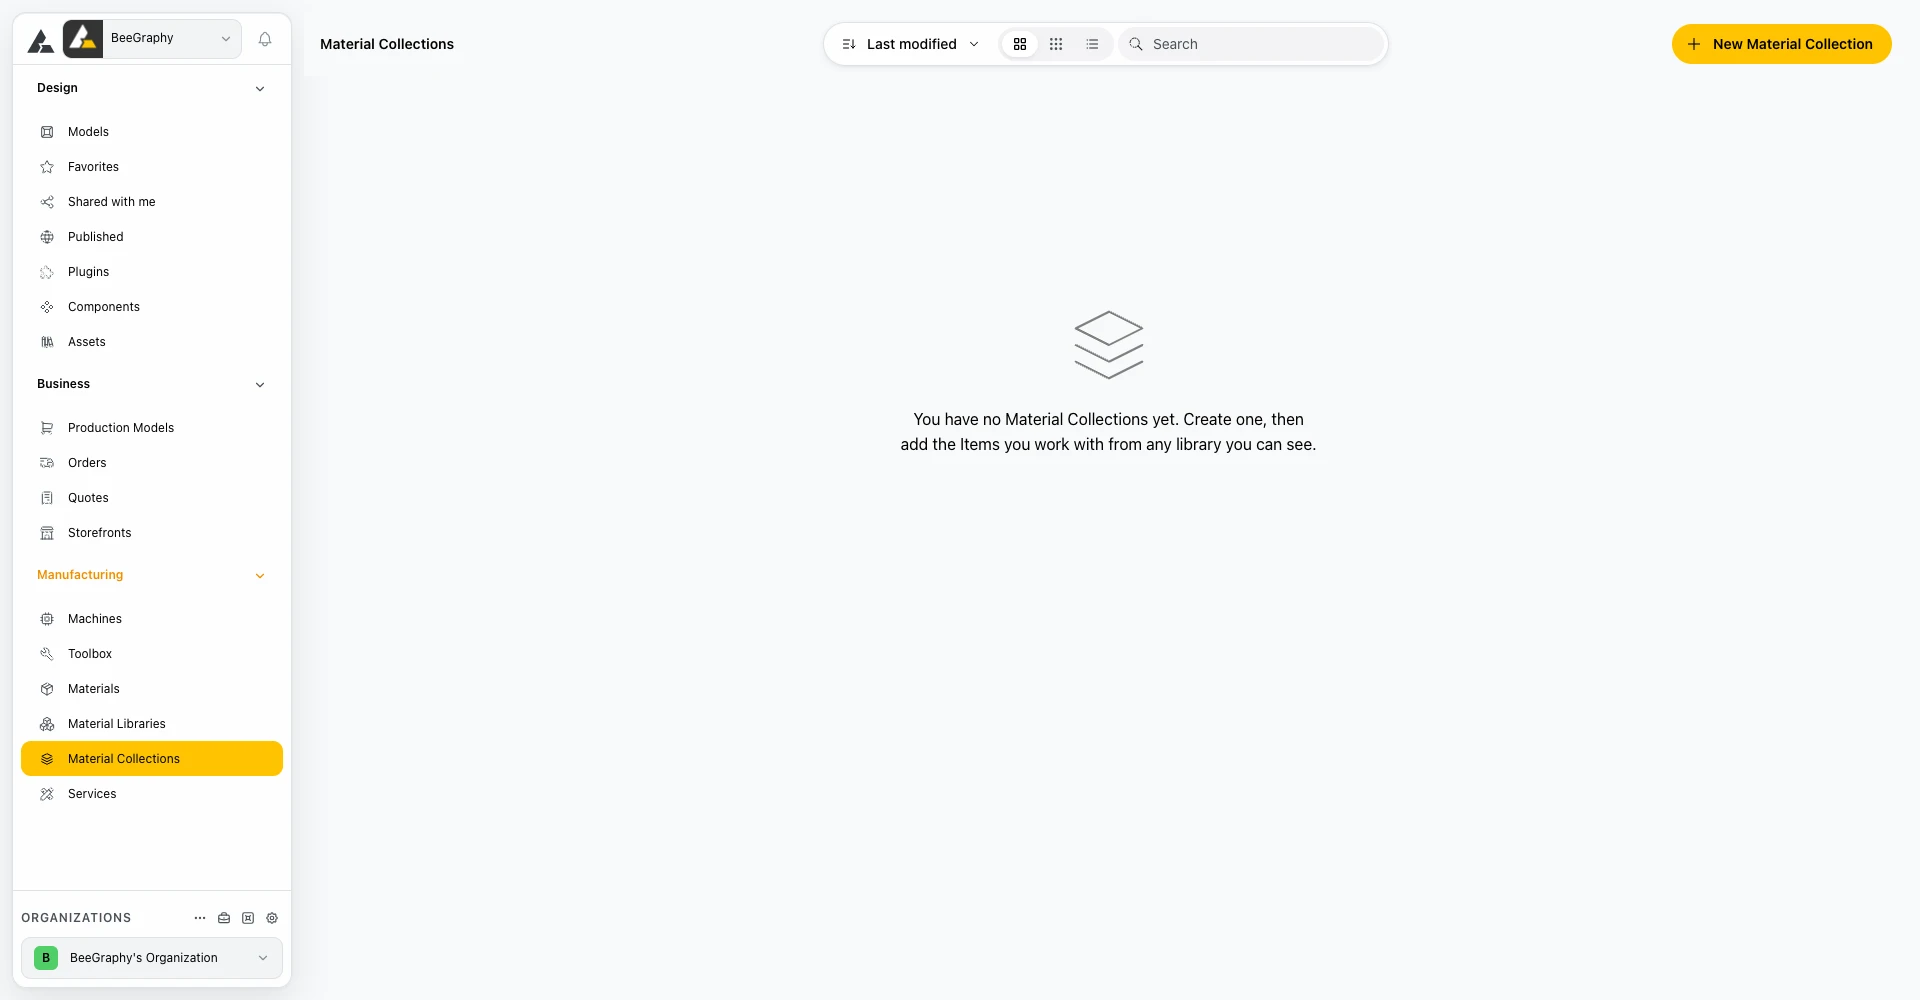
Material Collections
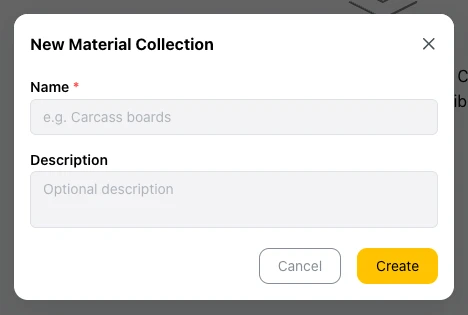
The New Material Collection dialog
07 / Services
Services
Services lists the production services you offer, such as cutting or banding. They are what you make available to your production models. A service card shows its price options, the number of materials, its price, and what it applies to. Click New service to open the Add a service dialog: Name and Service Class are required, and you can add a Display name, a Code, a Service provider, and Tags.
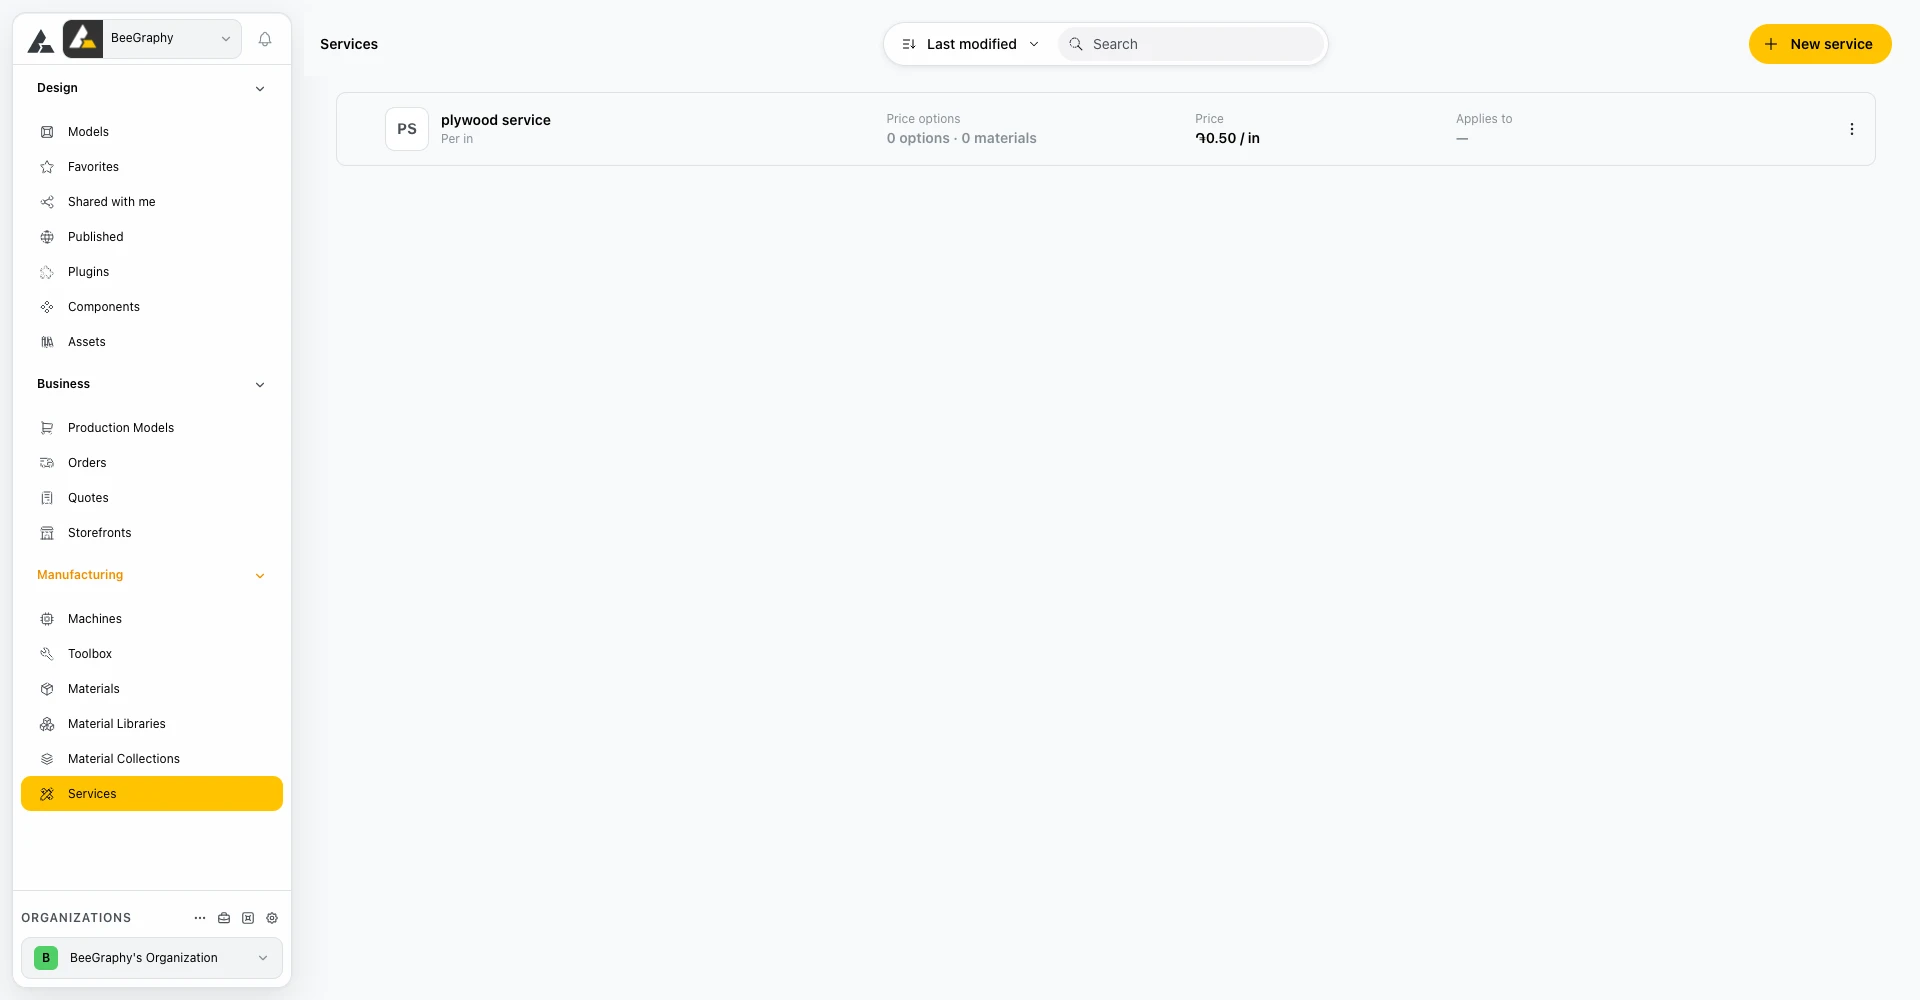
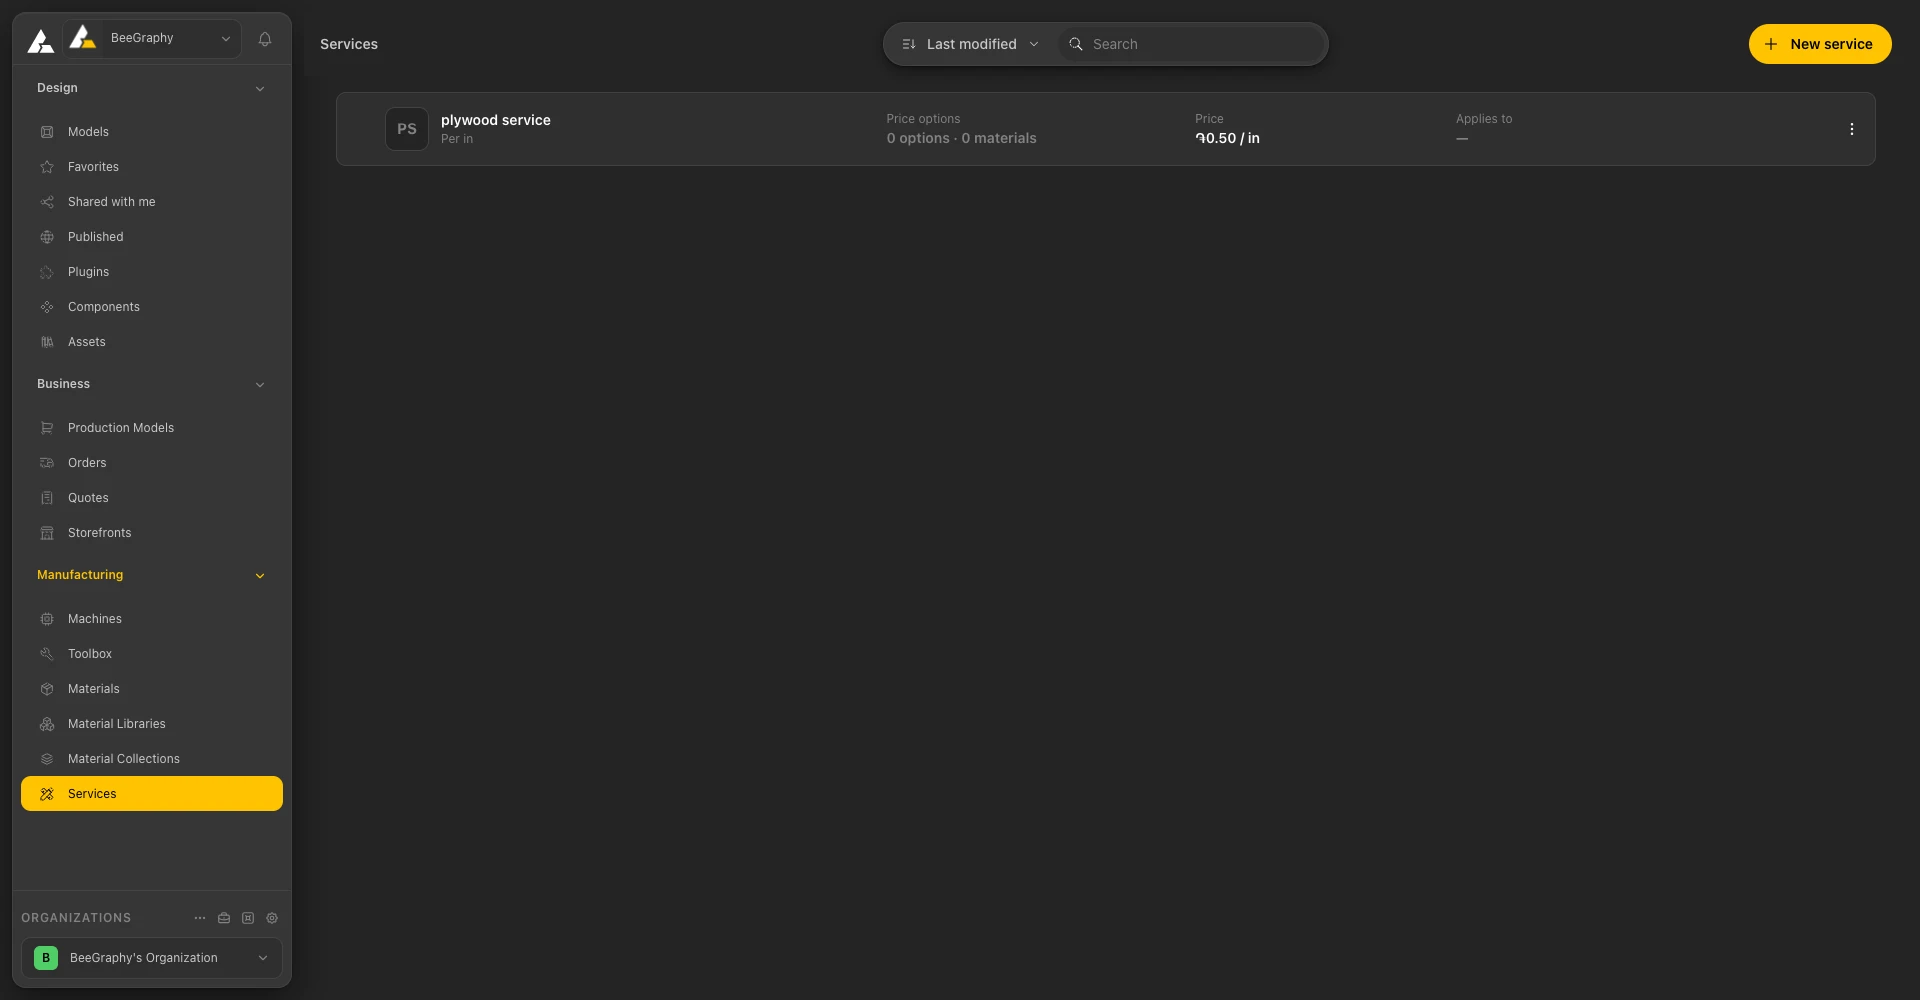
The Services page
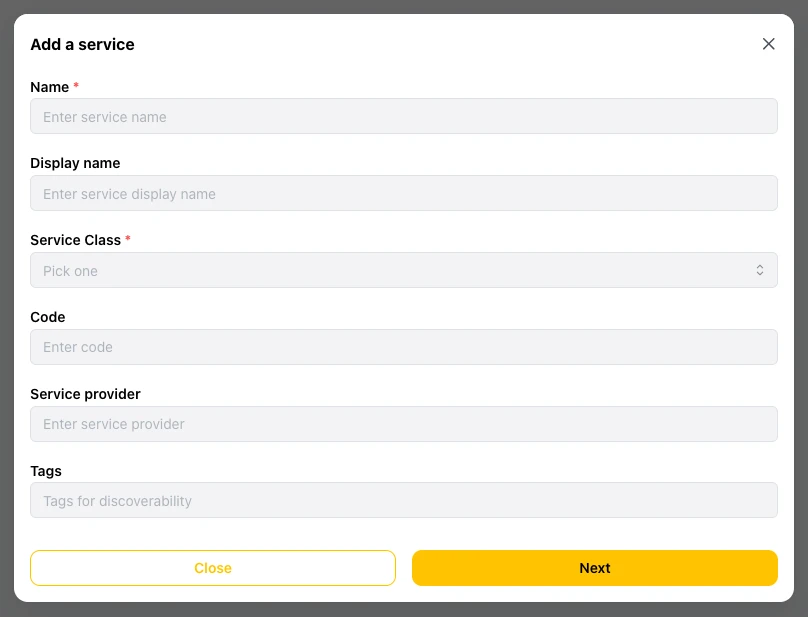
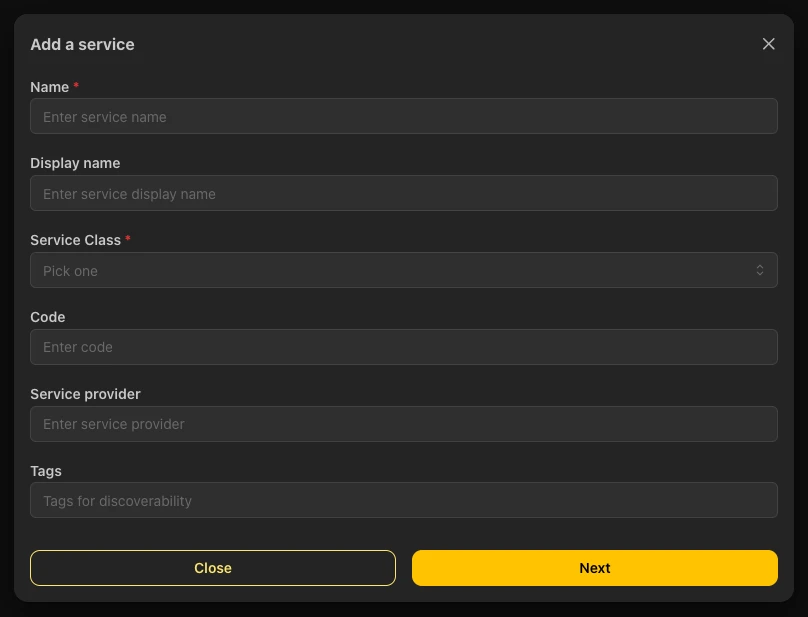
The Add a service dialog
Learn More
See Business for production models, orders and quotes, and CAM View for generating G-code. The node pages for Machine, Material and Service nodes cover how a graph uses them.