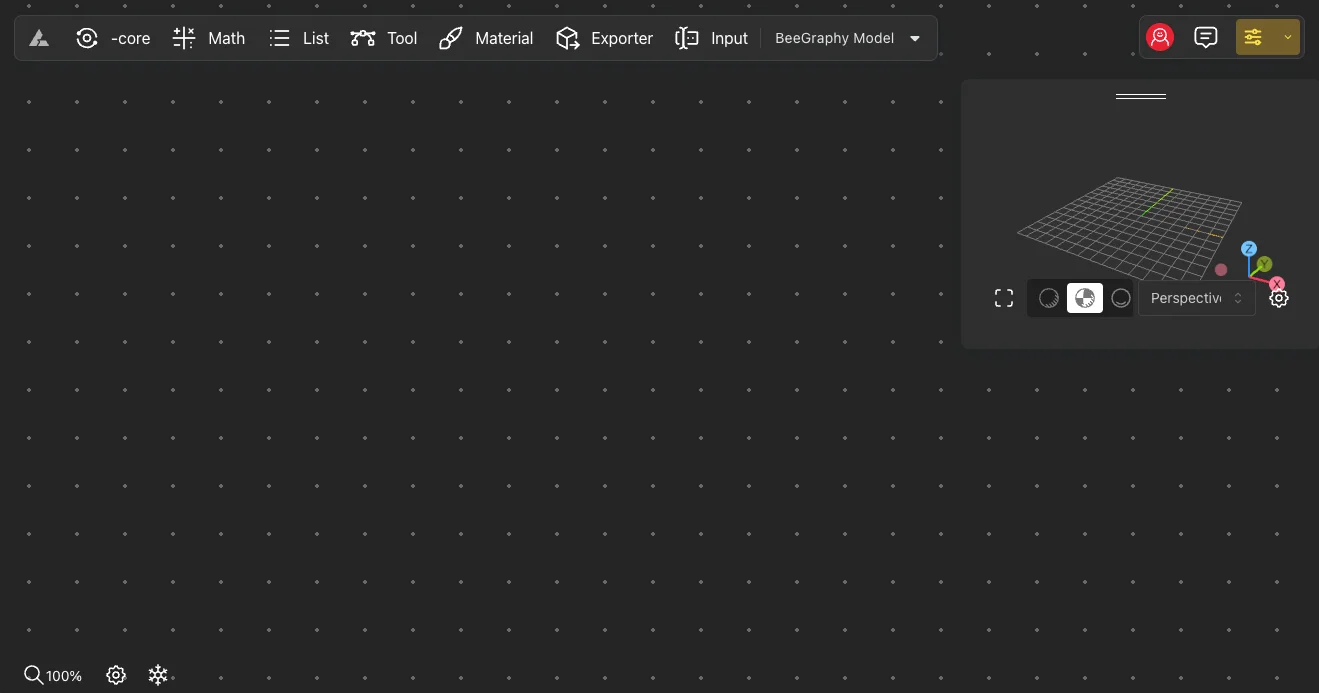
The workspace can be divided into several parts: in the upper left part, there is a tool panel, in the right part, there are tools related to users. In the lower left corner are the tools related to the Editor’s work and the button to change the scale. The 3D view mirroring window can be placed in any of the 4 corners. The main workspace is where the entire process of building the model using nodes will be performed.
Workspace:
The workspace is designed for interacting with nodes, allowing the creation of 3D parametric models. It offers various functions for workspace management:
Scale Adjustment:
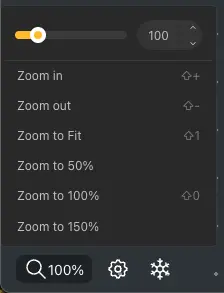
This feature enables users to adjust the scale using the mouse scroll button or the scale control button located in the left corner. Users can select the desired scale size. Additionally, the ’Zoom to Fit’ button zooms to a position where all nodes are visible.
There are several hotkeys for zoom control:
- ’Shift’ + ’0’ scales to 100% size.
- ’Shift’ + ’1’ performs Zoom to Fit and shows all nodes.
- ’Shift’ + ’+’ increases the scale.
- ’Shift’ + ’-’ zooms out.
Stop Solver:
This function allows you to stop the calculations and then, after making the necessary changes to the parameters, start the calculation process again

Position Adjustment:
The workspace can be moved in all directions using the right mouse button. Simply hold down the right mouse button and move in the desired direction.
Node chooser:
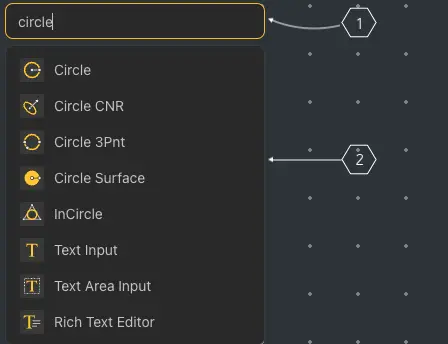
This tool is used to search for nodes. To access it, simply double-click in an empty field. In the opened window, commonly used nodes are displayed prominently.
To find a specific node, type its name or a related keyword into the search field (1).
The corresponding nodes will appear in the lower section. Use the mouse scroll to navigate and select the desired node with a left-click. Once selected, the node will appear in the workspace.
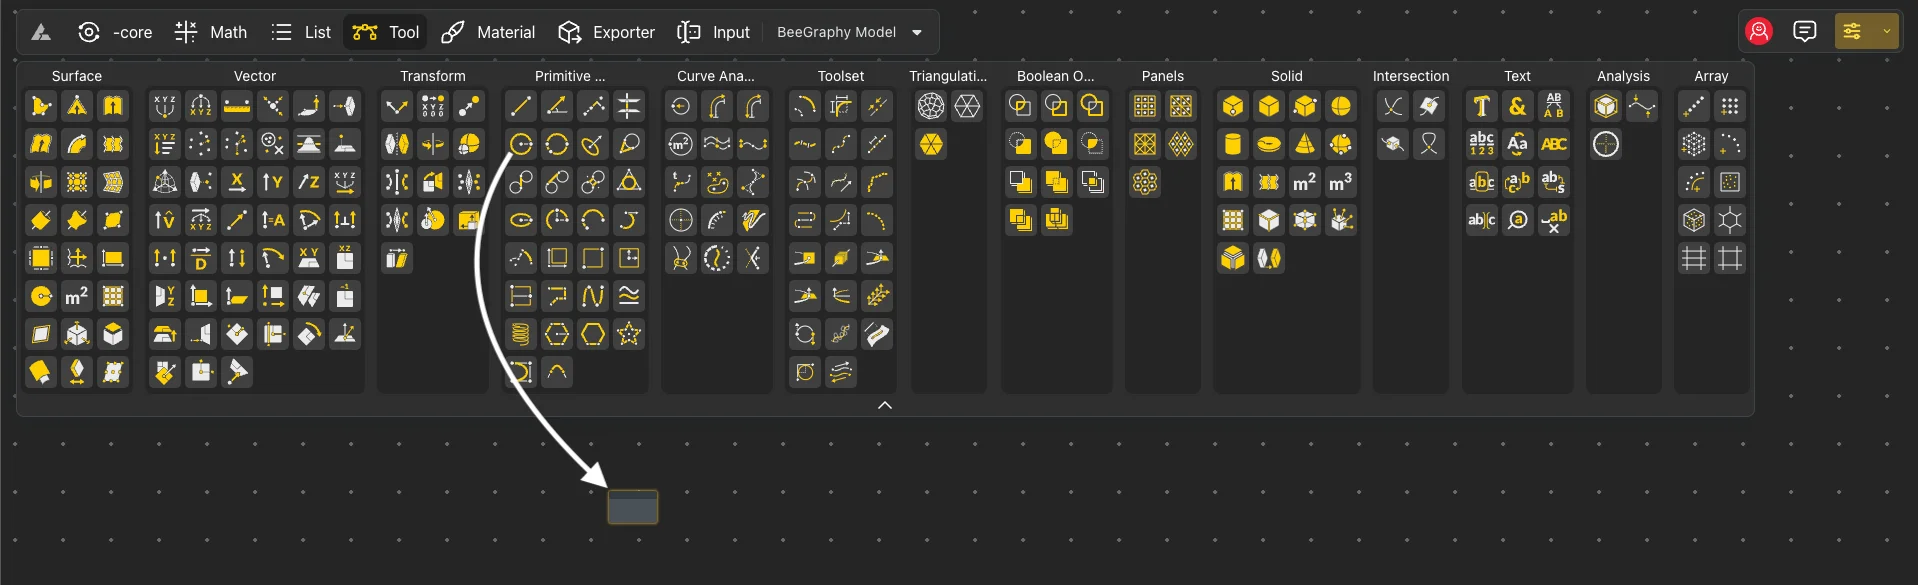
Toolbar:
All Editor tools are located in the toolbar in the upper left corner.
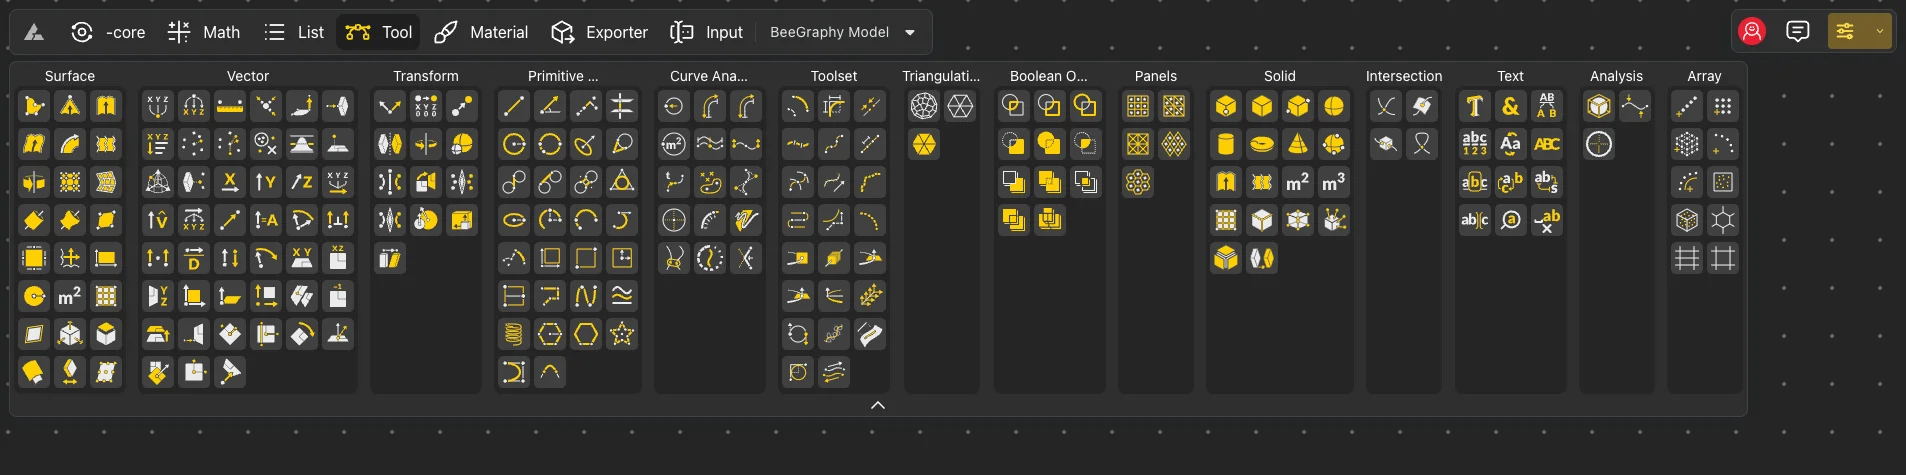
To add a node, find the desired node within its respective group, then click and drag the node’s geometry using the left mouse button to place it in the workspace.
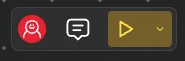
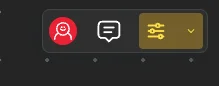
User Zone:
Located in the upper right corner of the Editor, this area serves multiple functions:
- Active Users: Allows users to view who is currently online in the model.
- Comment: A button to add comments.
- Viewer Mode: A button to open the model in viewer mode.
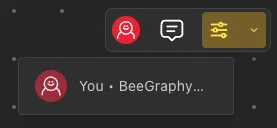
To view active users, simply click on the user’s picture, and the opened window will display the active users.
To leave a comment in the model, click on the comment button. The mouse cursor will change. Clicking on the desired location within the workspace will activate the comment window.
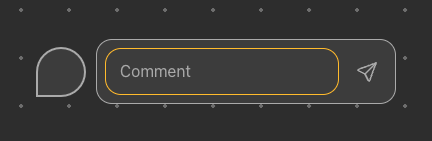
Write the comment in the opened field and press the send button to create it.
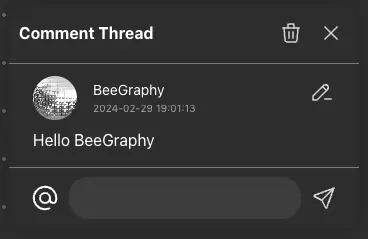
You can modify the comment text or delete it.
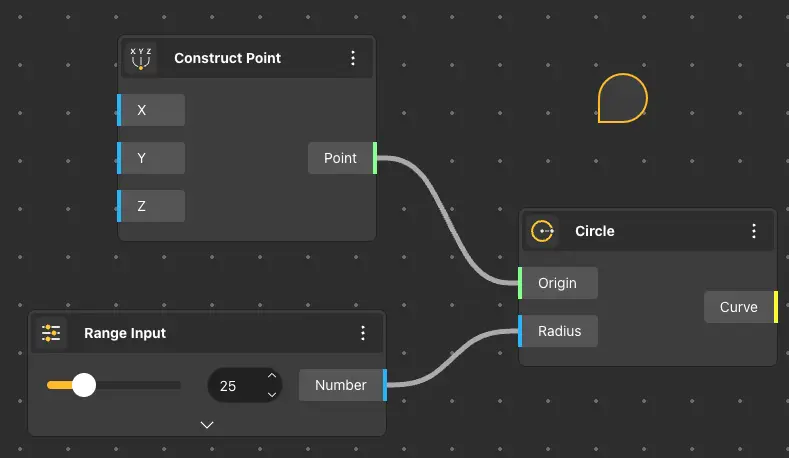
In the workspace, comments appear like this. Clicking on one will display the corresponding comment.
Here is a way to open the model in two viewing modes.
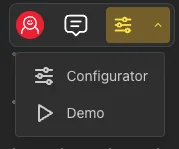
To open the model in configurator mode, click on the Configurator button, and it will open in a new window.

In this mode, you can configure the model and select the necessary parameters for the model, these changes also change the parameters in the editor.
You can change the variable names, their values, order, as well as the position and direction of the camera on the model.
To open the model in demo mode, click on the Demo button, and it will open in a new window.
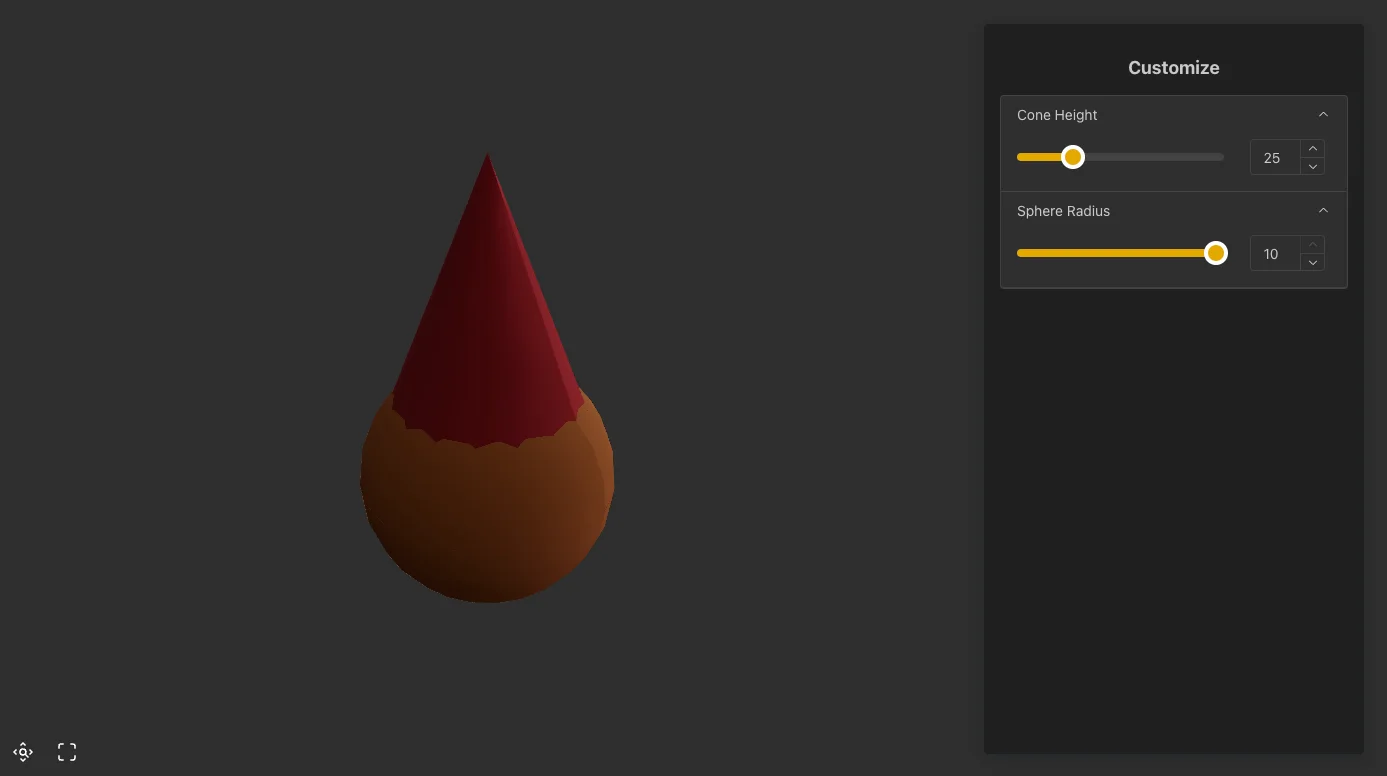
This mode enables you to adjust parameters and view the model from various perspectives.
After selecting the desired viewing mode, the icon will change and you can open this mode simply by clicking on the icon.